Table Of Contents
Preparing for the Repair
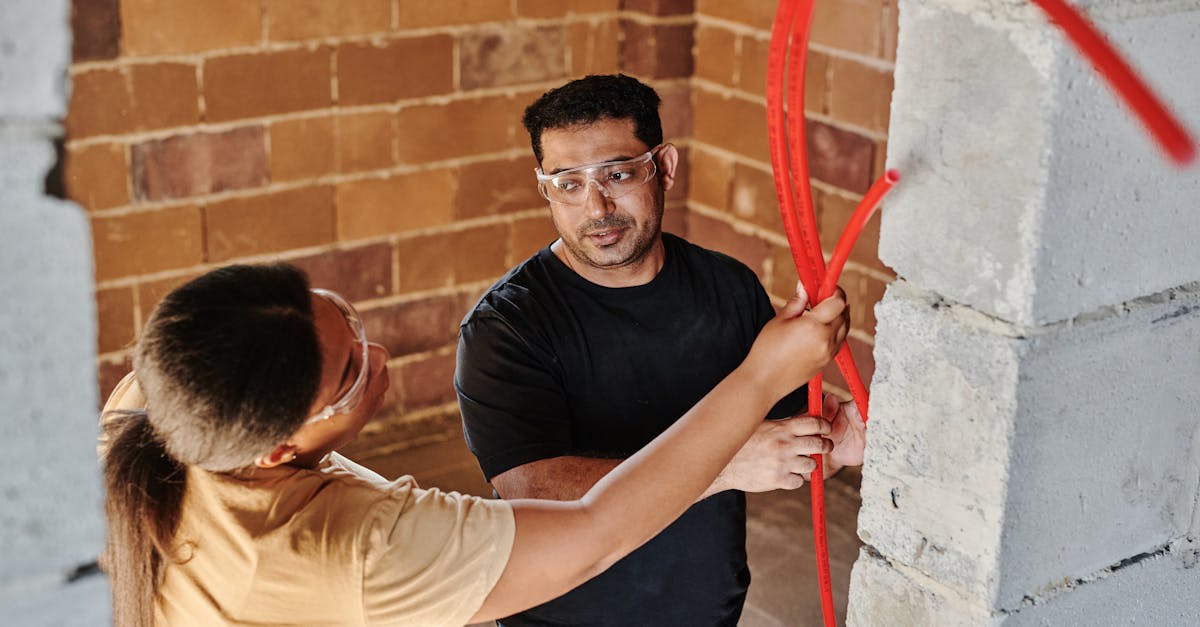
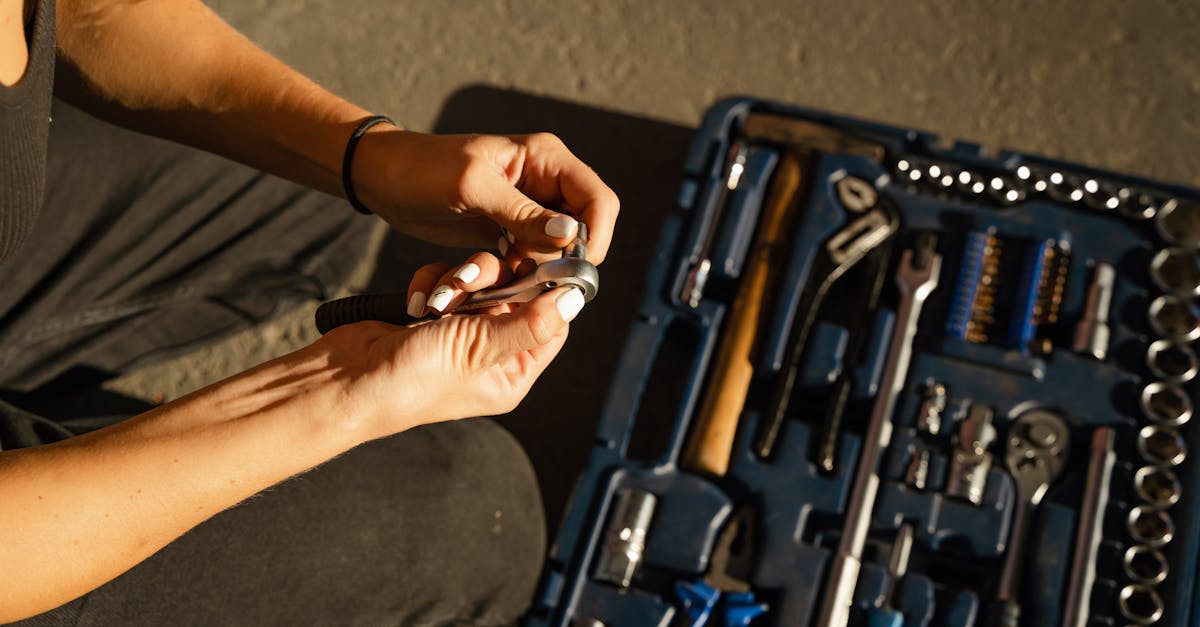
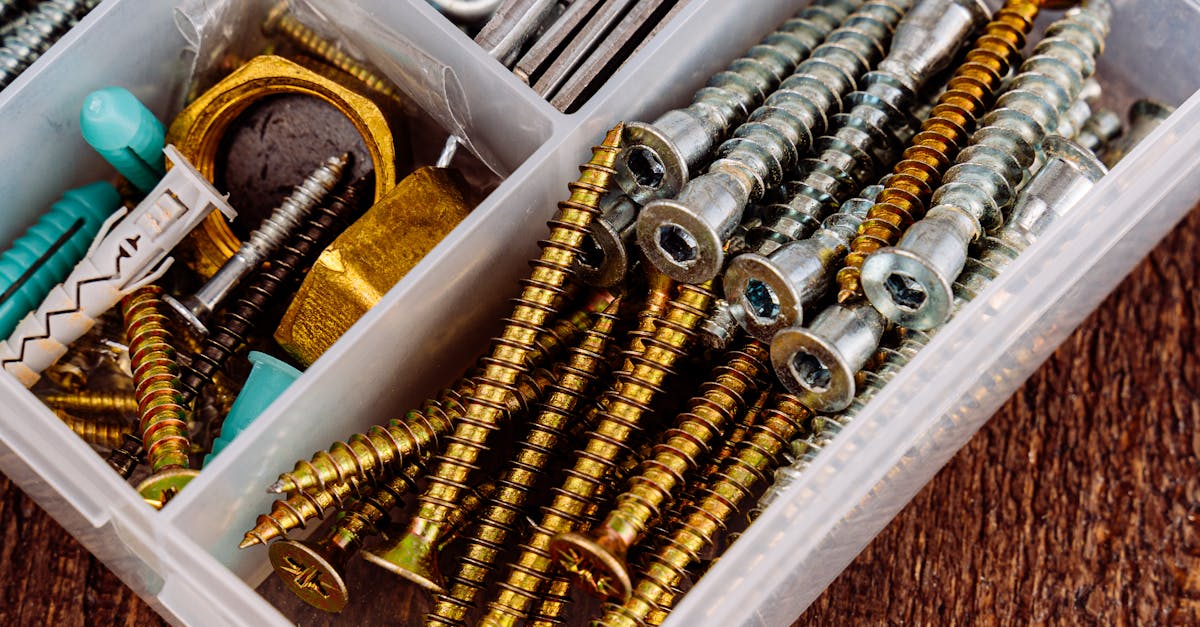
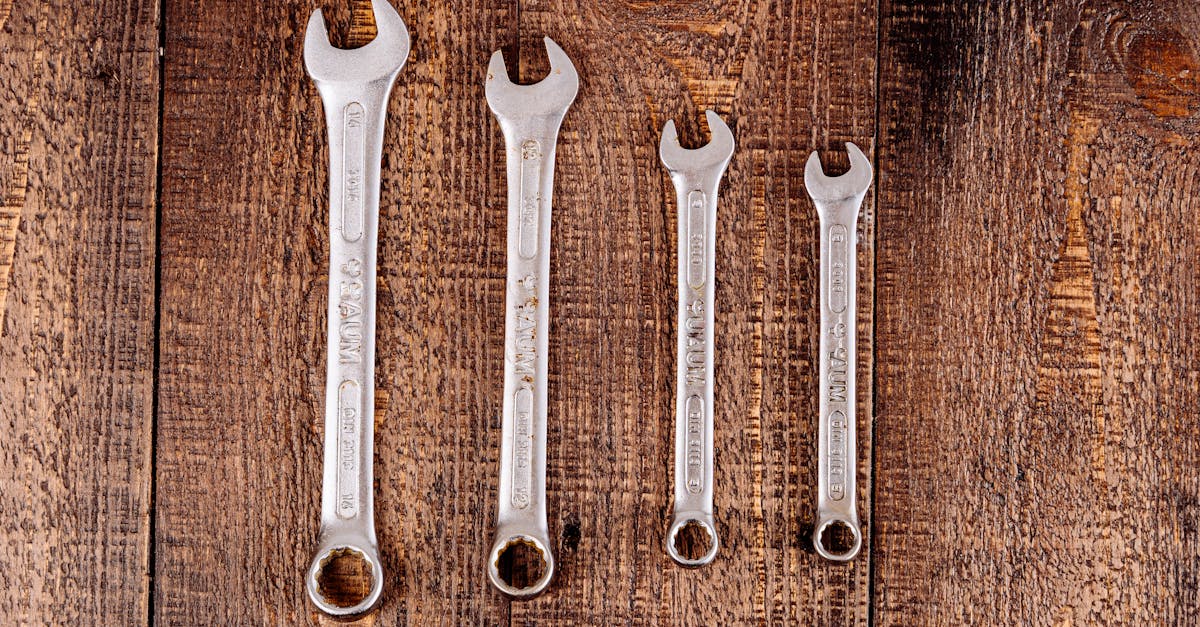
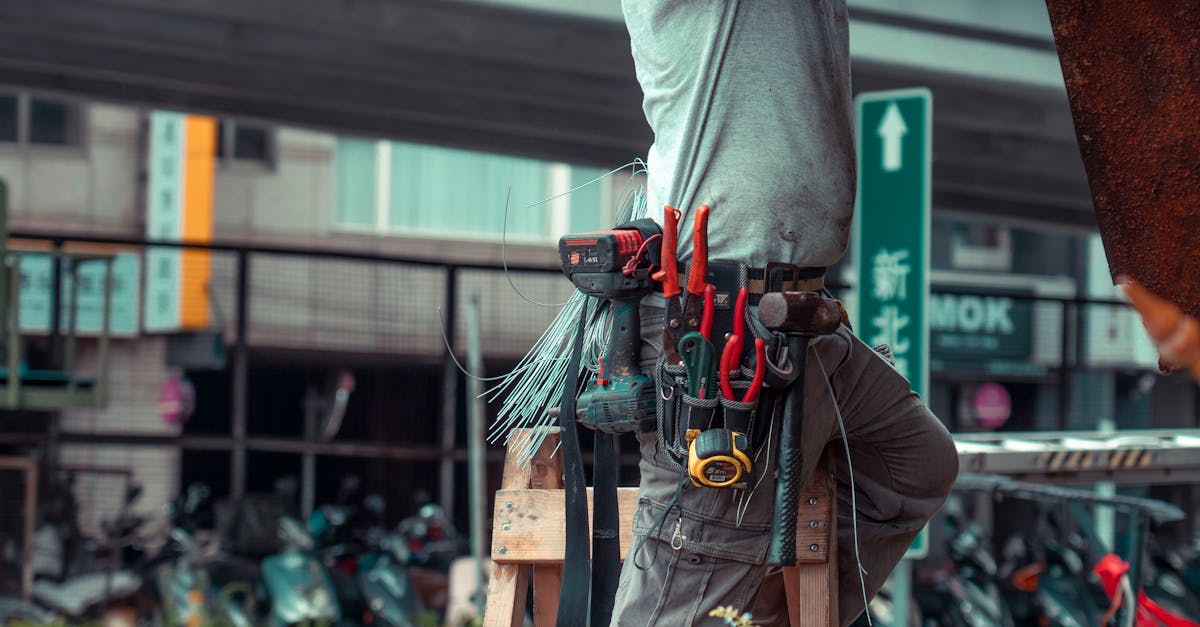
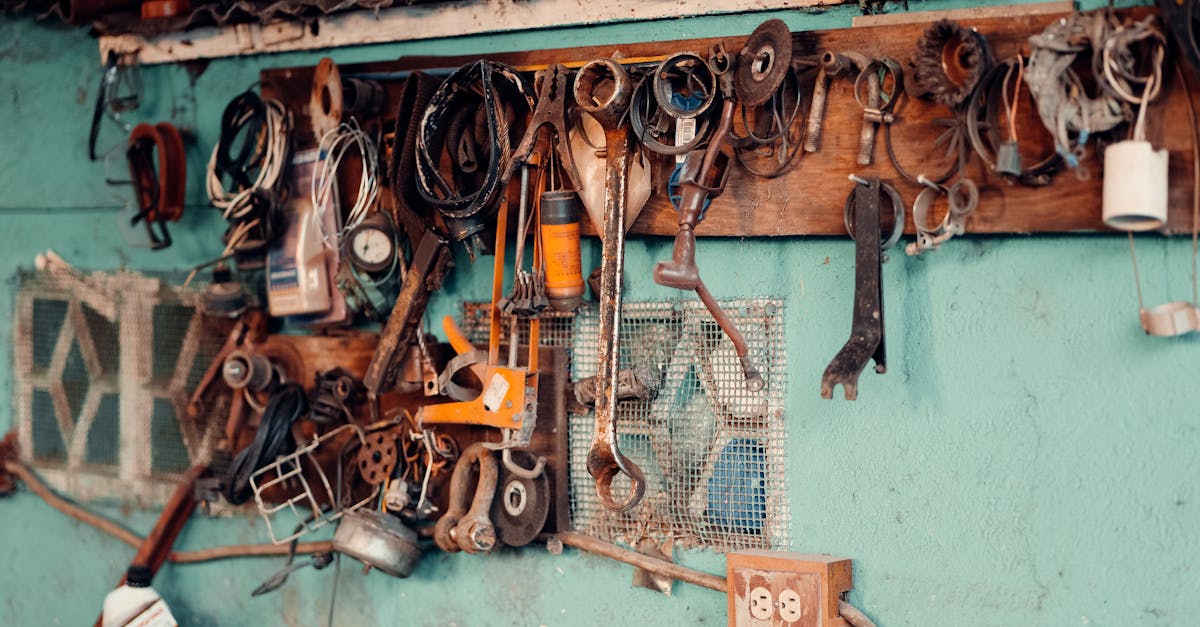
Before embarking on a leaking tap repair, it is essential to gather all necessary tools and materials. Common items required for the task include a wrench, screwdrivers, pliers, and replacement washers or seals. Having these items on hand will streamline the process and prevent interruptions. It is also a good idea to have a cloth or sponge nearby to clean up any excess water that may spill.
Another important preparation step is to assess the type of tap you are dealing with. Different taps have varying mechanisms, and understanding your specific model can aid in the repair process. Take a moment to observe the tap and identify its components. Reviewing any manufacturer instructions can also provide valuable insights. Being well-prepared will ensure a smoother experience with your leaking tap repair.
Turning Off the Water Supply
Before embarking on any leaking tap repair, it is essential to turn off the water supply to prevent further water damage and to ensure safety during the repair process. Most homes are equipped with a shut-off valve located under the sink. Locate this valve and turn it clockwise until it stops to completely cut off the water flow to the tap. If your sink does not have an individual shut-off valve, you may need to turn off the main water supply to the house.
Always check that the water supply is off by turning on the tap. If no water flows, you can proceed with the leaking tap repair. It’s advisable to keep a bucket or towel handy to catch any residual water that may still be present in the pipes. Taking these precautionary steps will create a safer work environment and help you avoid any unnecessary mess.
StepbyStep Repair Process
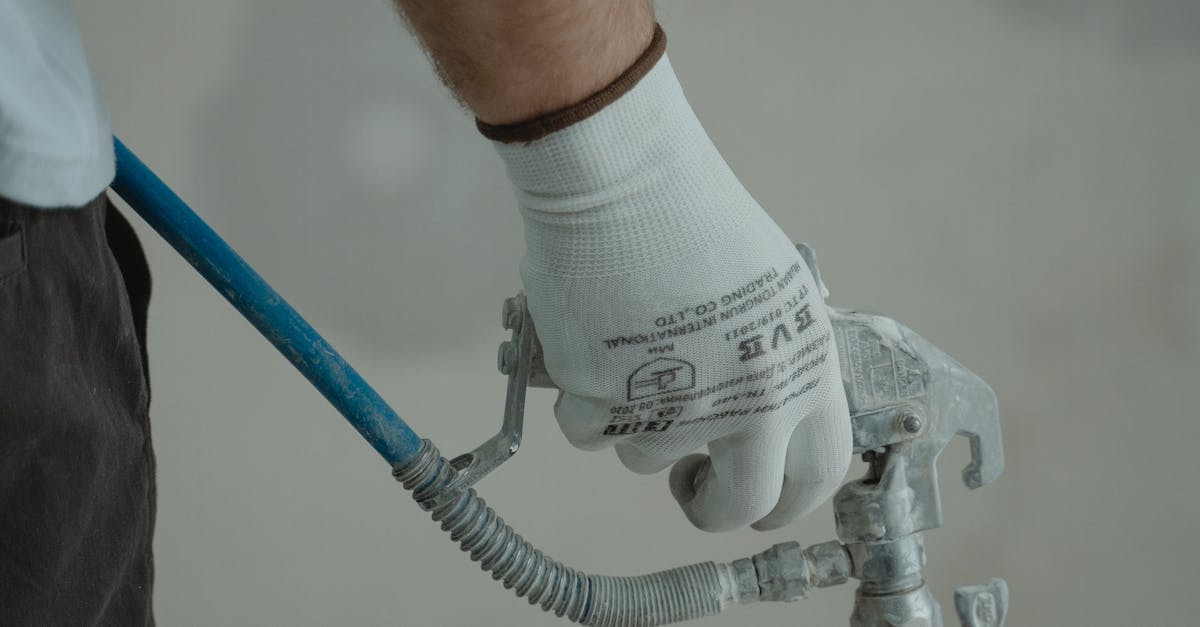
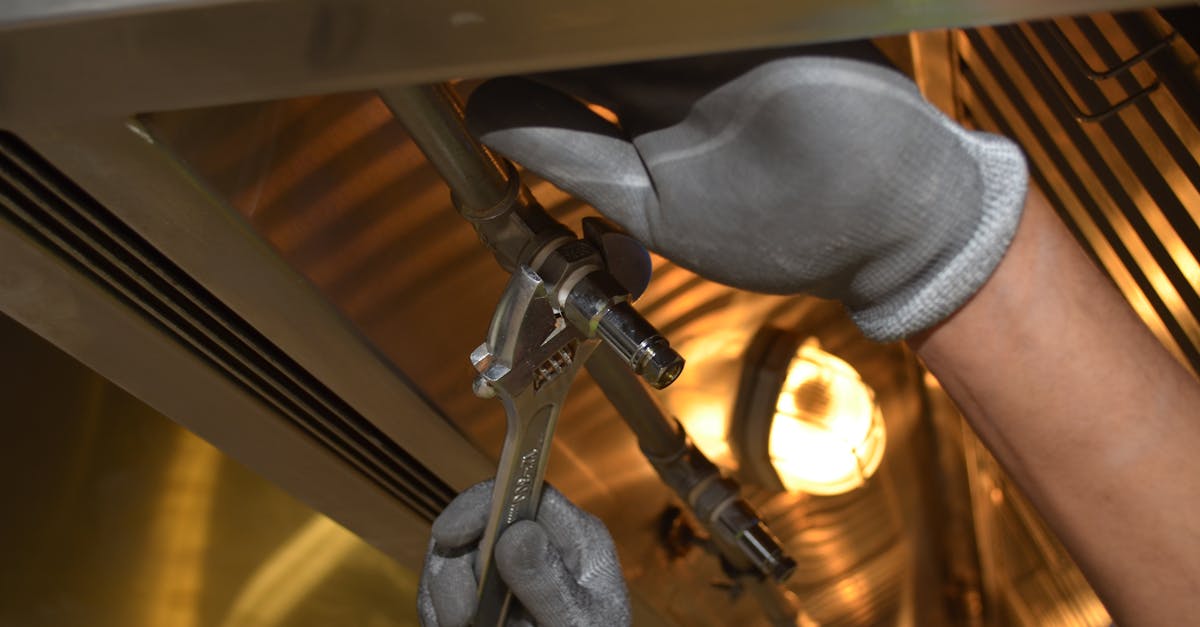
Begin by disassembling the leaky tap. Use a flathead screwdriver or a specialized tap wrench to carefully remove the handle. Be cautious not to scratch the surface. Once the handle is off, remove the packing nut using an adjustable wrench. This will expose the valve or cartridge, depending on your tap type. Inspect these components for any visible signs of wear or damage. If they seem faulty, replacements might be necessary.
After confirming the state of the internal parts, proceed with the leaking tap repair. Clean any debris or old washer material from the assembly. Install new washers or O-rings as required. Ensure that each part is seated correctly before reassembling the tap. Tighten the components gently to avoid stripping the threads. Once everything is in place, turn the water supply back on and check for leaks by turning the tap on and off several times. Make any necessary adjustments if leaks persist.
Disassembling the Leaky Tap
To begin disassembling the leaky tap, carefully remove any decorative covers or handles that may be hiding the screws. It's important to use a screwdriver that fits the screws properly to avoid stripping them. Once the screws are removed, gently lift off the handle. You may need to wiggle it slightly if it feels stuck. Take care to place all parts in a small container to keep everything organized during the leaking tap repair process.
Once the handle is removed, you will typically see a retaining nut or screw that holds the faucet cartridge in place. Use a wrench to loosen and remove this nut, taking care not to apply too much force that could damage the surrounding fixtures. As you remove the cartridge or ball assembly, pay attention to the orientation and any washers or seals present. This will help ensure a smoother reassembly when you complete the leaking tap repair.
Testing for Leaks
After reassembling the tap, it’s crucial to test for any remaining leaks. Turn the water supply back on slowly and observe the tap for any signs of dripping or moisture. Pay close attention to the areas where parts were previously disassembled, as this is where leaks are most likely to occur. If you notice any water trickling out, it may indicate that the components need further tightening or that a washer or seal was not installed correctly during the leaking tap repair.
If the tap remains dry after the initial test, let the water flow for a minute to ensure everything is functioning as intended. This helps verify that the repair was successful and that there are no hidden issues. Monitoring the spot for a while provides peace of mind and confirms that future leaks have been effectively addressed. If done correctly, the effort put into fixing the leaking tap will result in a fully functional faucet and reduce potential water waste.
Ensuring Proper Reassembly
Proper reassembly is crucial for a successful leaking tap repair. Begin by carefully following the reverse order of disassembly. Ensure that all components, such as O-rings and washers, are positioned correctly and securely. Take your time to verify that any screws or fasteners are tightened but not over-tightened, as this could damage the fittings or create new leaks.
After reassembling, it’s important to double-check that everything is in place before turning the water supply back on. Inspect the tap thoroughly for any signs of misalignment or loose parts. Once you restore the water supply, watch for leaks as the tap operates. This step ensures that your leaking tap repair is effective and prevents future issues.
FAQS
What tools do I need to fix a leaking tap?
To fix a leaking tap, you typically need a wrench, screwdriver, pliers, a replacement washer or cartridge, and a cloth for cleaning up.
How do I know if my tap is leaking?
You can tell if your tap is leaking if you notice water dripping from the faucet or pooling around the base, or if you hear the sound of running water when the tap is off.
Can I fix a leaking tap without professional help?
Yes, you can fix a leaking tap without professional help by following a step-by-step repair process and using the right tools. However, if you feel unsure, it's best to contact a plumber.
Is it necessary to turn off the water supply before fixing a tap?
Yes, it is essential to turn off the water supply before starting any repair on a tap to prevent water from leaking or spraying while you work.
How often should I check my taps for leaks?
It's a good idea to check your taps for leaks periodically, at least once every few months, to ensure they are functioning properly and to prevent water waste.