Table Of Contents
Sealing the Joint Properly
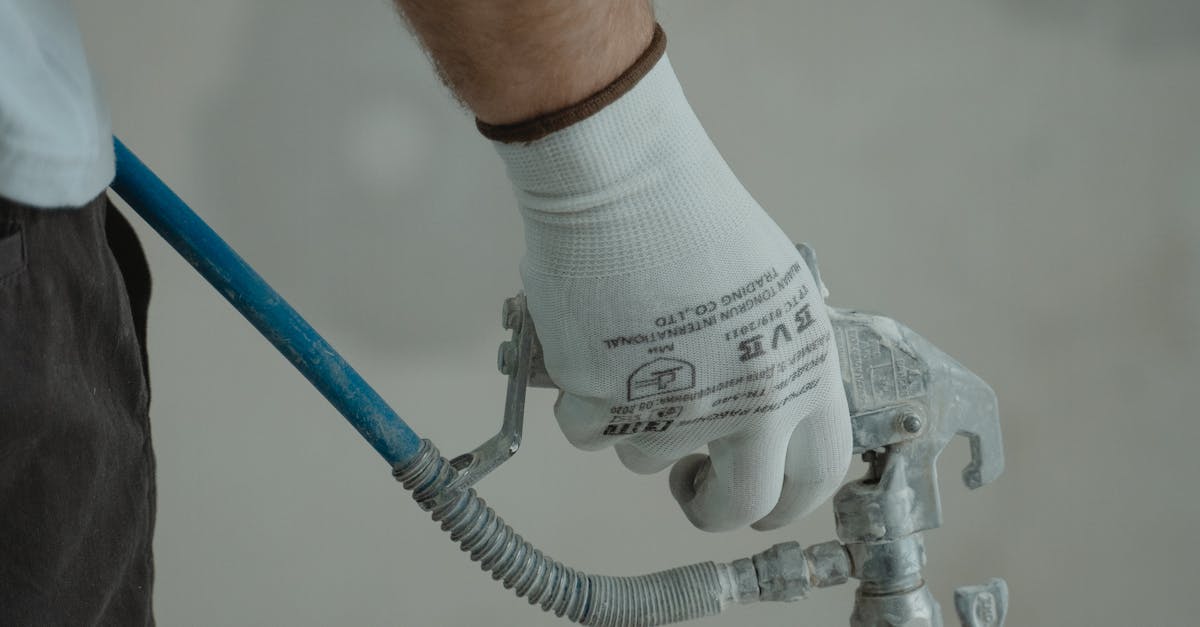
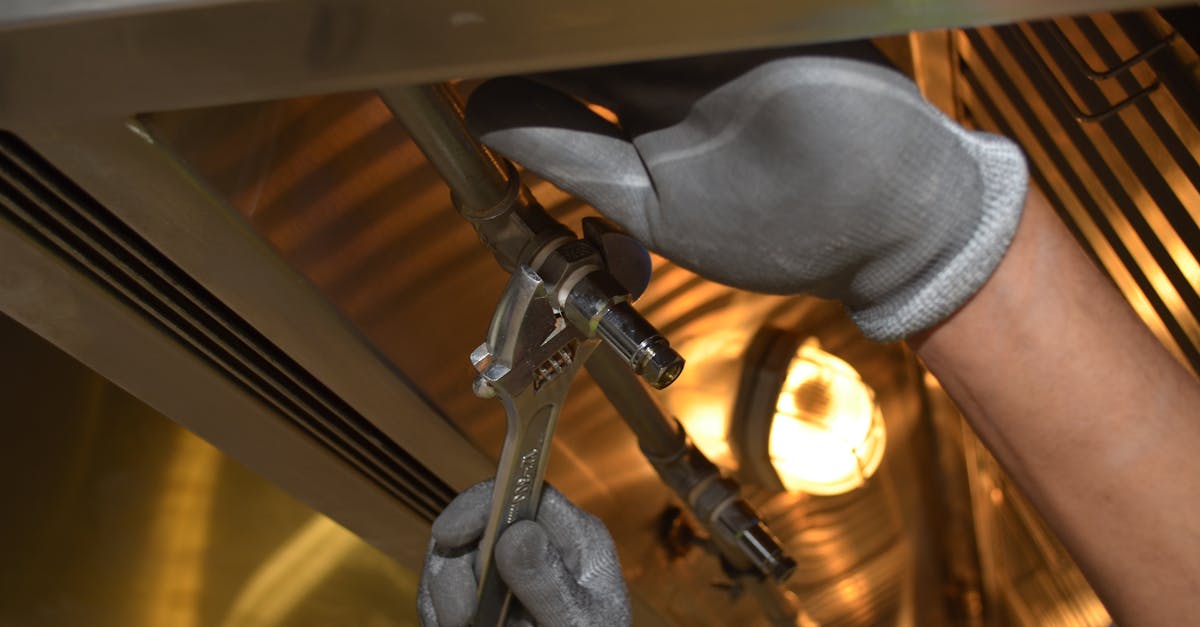
To effectively seal a tap joint, it is essential to clean the area thoroughly before applying any sealant. Remove any old sealant or debris that might hinder the new seal. A clean surface ensures better adhesion and creates a more reliable barrier against leaks. Once the area is prepared, carefully apply the chosen sealant. Make sure to distribute it evenly around the joint to prevent any gaps, which could lead to future problems.
After applying the sealant, allow it to cure according to the manufacturer's instructions. This waiting period is crucial for achieving a solid seal. Once the sealant has cured, it is advisable to conduct a test to confirm the repair's effectiveness. Running water through the tap will help identify any remaining leaks and ensure the success of your leaking tap repair efforts. Regular checks after repairs can help detect any potential issues early, maintaining the integrity of the joint over time.
Choosing the Right Sealant
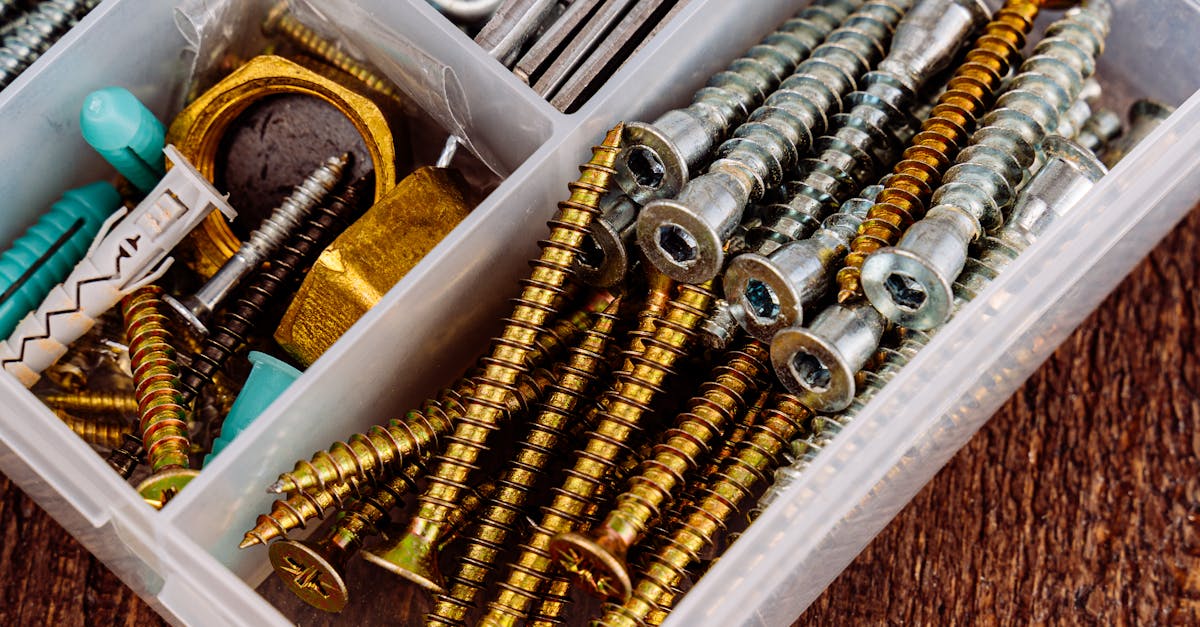
Selecting the appropriate sealant is crucial for effective leaking tap repair. Various types of sealants are available, including silicone, epoxy, and plumber's putty. Each has its own advantages and recommended applications. Silicone sealants are flexible and resistant to water, making them ideal for taps that experience movement. Epoxy offers a strong bond and can fill gaps, while plumber's putty is excellent for creating a watertight seal around fixtures.
When choosing a sealant, consider the materials of the tap and surrounding plumbing. Ensure the product is rated for the specific conditions it will face, such as exposure to water and temperature changes. Reading reviews and product specifications can guide you in selecting the right sealant for your leaking tap repair. A well-chosen sealant not only addresses immediate leaks but also helps prevent future issues.
Testing for a Successful Repair
After completing the leaking tap repair, it's crucial to verify that the joint is functioning properly. Turn the water supply back on slowly and observe the joint closely. Look for any signs of water dripping or seeping from the seal. If possible, allow the water to flow for a few minutes while monitoring the area. This initial check helps ensure that any minor issues can be addressed immediately.
If initial observations are clear, consider running a more thorough test. Place a dry cloth around the joint and let it sit for a few hours. If the cloth remains dry, the repair is likely successful. After this testing phase, you can confidently return the tap to regular use, with the assurance that your leaking tap repair has been effective.
Checking for Remaining Leaks
After completing the leaking tap repair, it is crucial to thoroughly inspect the joint for any signs of new leaks. Start by observing the area immediately after the repair. Watch for moisture accumulation around the joint, as this could indicate that the seal has not been effective. It may help to use a clean cloth to wipe away any water and then monitor the area for a few minutes. If water reappears, it signals that further adjustments might be necessary.
In addition to visual checks, consider conducting a simple water test. Turn on the tap and let it run for a few minutes, paying close attention to the joint. Any drips or water seeping from the connection suggest that the repair has not solved the problem effectively. Take note of the specific conditions that lead to leaks. Understanding these factors can be instrumental in preventing future issues with the tap and extends the life of your leaking tap repair efforts.
Preventative Measures to Avoid Future Leaks
Preventing future leaks is crucial for maintaining the integrity of your plumbing system. Regular inspections of your tap joints can help identify any wear or damage before it becomes a significant issue. Keeping an eye out for corrosion, loose fittings, or any signs of moisture can alert you to potential problems. If you notice anything unusual, addressing it immediately can save time and money in the long run.
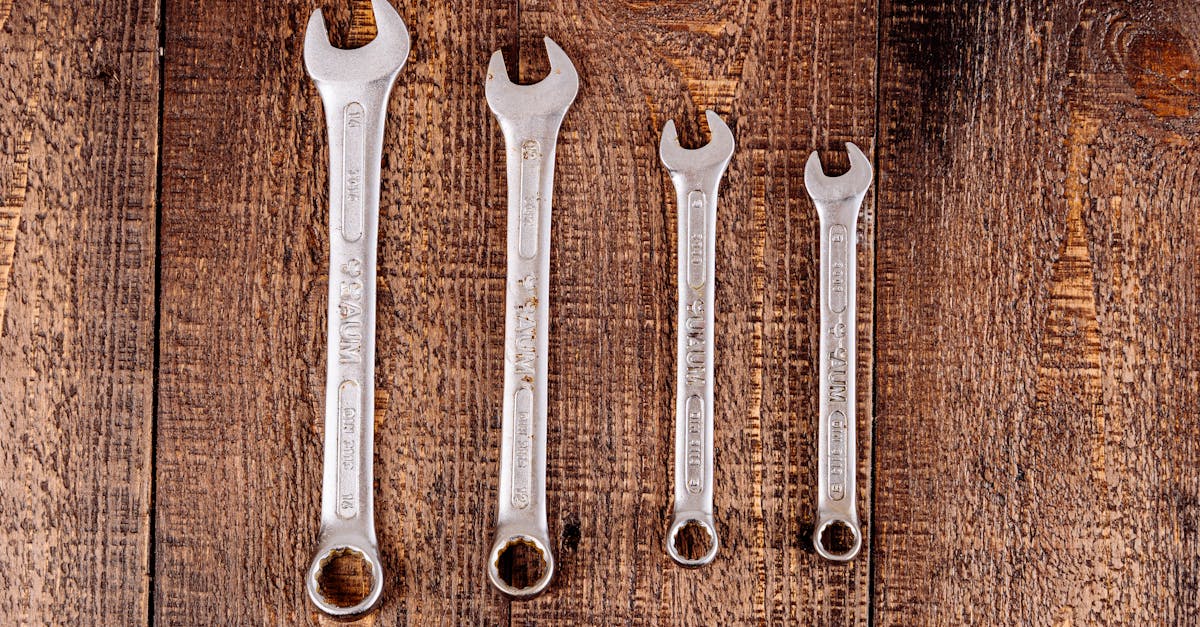
Implementing routine maintenance practices is also essential. Periodically tightening fittings and replacing worn washers or seals can prevent leaks from developing. When executing leaking tap repair, using the right tools and quality materials will ensure that the job is done effectively. Additionally, maintaining a clean and dry area around taps can help reduce the likelihood of leaks occurring due to external factors.
Regular Maintenance Tips
Regular maintenance is key to preventing leaks and ensuring the longevity of your plumbing system. Inspect your tap joints routinely for any signs of wear or corrosion. Addressing small issues promptly can help avoid the need for extensive leaking tap repair later on. Pay special attention to the condition of washers and O-rings, as these components can degrade over time and contribute to leaks.
Additionally, flushing your plumbing system periodically can help remove debris that might cause blockages or leaks. Ensure that your faucet aerators and showerheads are clean and free from mineral buildup. Keeping these components in good condition not only maintains water flow but also reduces the likelihood of needing frequent leaking tap repair.
FAQS
What should I do first if I notice a leak in my tap joint?
First, turn off the water supply to the tap to prevent further water damage. Then, assess the joint to determine the source of the leak.
How do I know if I need to replace the sealant on my tap joint?
If you notice water dripping or pooling around the joint, or if the sealant appears cracked or worn, it's time to replace it.
What type of sealant is best for tap joints?
The best sealant for tap joints is a high-quality, waterproof plumbing sealant or silicone specifically designed for plumbing applications.
How can I test if my repair is successful after sealing a tap joint?
After sealing, turn the water supply back on and check for any signs of leakage around the joint. If you see no leaks, the repair is likely successful.
What preventative measures can I take to avoid future leaks in my tap joint?
Regularly inspect your tap joints for wear and tear, ensure the sealant is in good condition, and maintain proper water pressure to prevent leaks from developing.