Table Of Contents
Installing the New Tap
Before you begin the installation of a new tap, make sure to turn off the water supply. This avoids any unexpected spills during the process. Remove the old tap by loosening the mounting nuts and disconnecting the water lines. If your old tap is causing issues like dripping or inconsistent flow, it may be time for an upgrade. Familiarizing yourself with the components of the new tap is essential. Check if you have all the necessary tools on hand, such as an adjustable wrench and plumber's tape.
Once the old tap is removed, fit the new one into place. Ensure that any gaskets or seals are aligned correctly before tightening the mounting hardware. It is important to secure everything firmly to prevent problems later, such as needing a leaking tap repair. After installing, reconnect the water lines and turn the supply back on. Check for any signs of leaks around the base of the tap and make adjustments as necessary. These initial steps can help ensure a smooth installation and reliable performance.
Proper Techniques for Secure Installation
When installing a new tap, ensuring a secure fit is essential to avoid future problems. Begin by properly positioning the tap and tightening the nuts carefully. Use a basin wrench to access tight spaces, applying firm but gentle pressure. Over-tightening can lead to damage, creating potential issues for leaking tap repair down the line.
Seal the threaded joints with appropriate plumbing tape or pipe dope to prevent leaks. Make sure to align the components correctly before securing them in place. This attention to detail can significantly reduce the risk of any leakage. Double-checking all connections will provide reassurance and enhance the durability of the installation.
Checking for Leaks After Installation
Once the new tap is installed, verifying that there are no leaks is crucial for its performance. Turn on the tap and let the water run for a few moments. Observe any signs of water escaping from the fixtures, the connection points, or the base of the tap. If water appears, it indicates a potential issue that needs immediate attention.
If you notice any leaks, you may need to address them with leaking tap repair techniques. This could involve tightening the faucet or replacing worn-out washers and seals. Ensuring a tight fit not only prevents leaks but also prolongs the life of your new tap. Regular checks after installation can help catch any problems early on, saving you from more extensive repairs later.
Methods to Ensure a Tight Seal
To ensure a tight seal when installing your new tap, begin by cleaning the area around the connection points thoroughly. Any old residue or debris may prevent the new fittings from making proper contact. Use a cloth to wipe down the surfaces where the tap will be attached. Once these surfaces are clean, apply plumber's tape around the threads of the faucet. This tape acts as an additional barrier, helping to prevent any potential leaks.
After securing the tap in place, double-check that all fittings are tightened but avoid overtightening, which can cause damage. Once everything is connected, turn the water supply back on and observe for any signs of leakage. If you notice dampness or dripping, you may need to revisit your installation or consider a leaking tap repair to address any underlying issues. Regular checks after installation can help maintain the integrity of the seal over time.
Maintaining Your New Tap
Regular maintenance of your new tap is crucial for ensuring its long-lasting performance. Schedule periodic inspections to check for any signs of wear or damage. Clean the faucet aerator and spout regularly to prevent mineral buildup, which can hinder water flow. If you notice any changes in water pressure or leaks, it may be time for leaking tap repair. Addressing these issues promptly can prevent further damage and costly repairs down the line.
In addition to inspections, lubricating the moving parts can help maintain smooth operation. Use appropriate lubricants designed for plumbing fixtures. Keeping the tap handles and connections tight will also minimize the risk of leaks. If you encounter any persistent leaks, don’t hesitate to seek professional assistance alongside your DIY leaking tap repair efforts. Taking these steps will ensure that your tap remains in excellent condition for years to come.
Tips for LongLasting Performance
Regular maintenance is essential for prolonging the life of your new tap. Periodic cleaning can prevent mineral buildup that may hinder water flow. Use a soft cloth and a mild cleaner to wipe down the surface. For moving parts, regular lubrication with appropriate products can ensure smooth operation and prevent wear over time.
If you notice any signs of trouble early on, address them promptly. A leaking tap can lead to more significant issues if left unchecked. Familiarize yourself with common problems, and keep basic tools handy for minor repairs. Knowing when to perform a leaking tap repair can save both water and money in the long run.
FAQS
Can I replace a tap myself if I have no prior experience?
Yes, you can replace a tap yourself even if you have no prior experience. With some basic tools and following a step-by-step guide, most homeowners can successfully install a new tap.
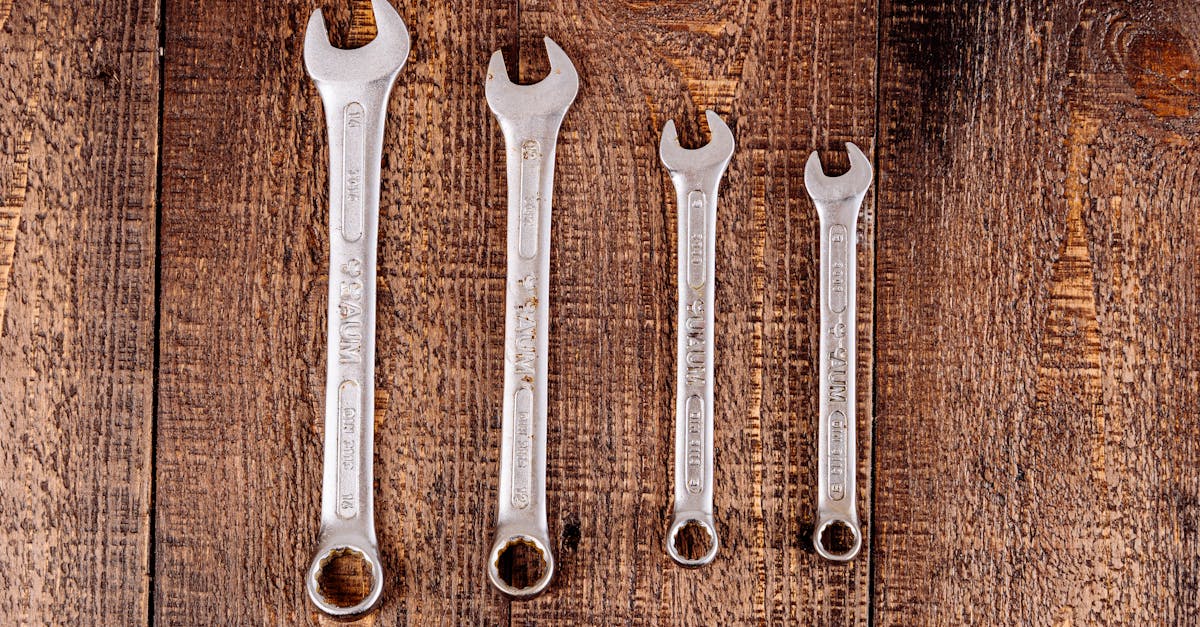
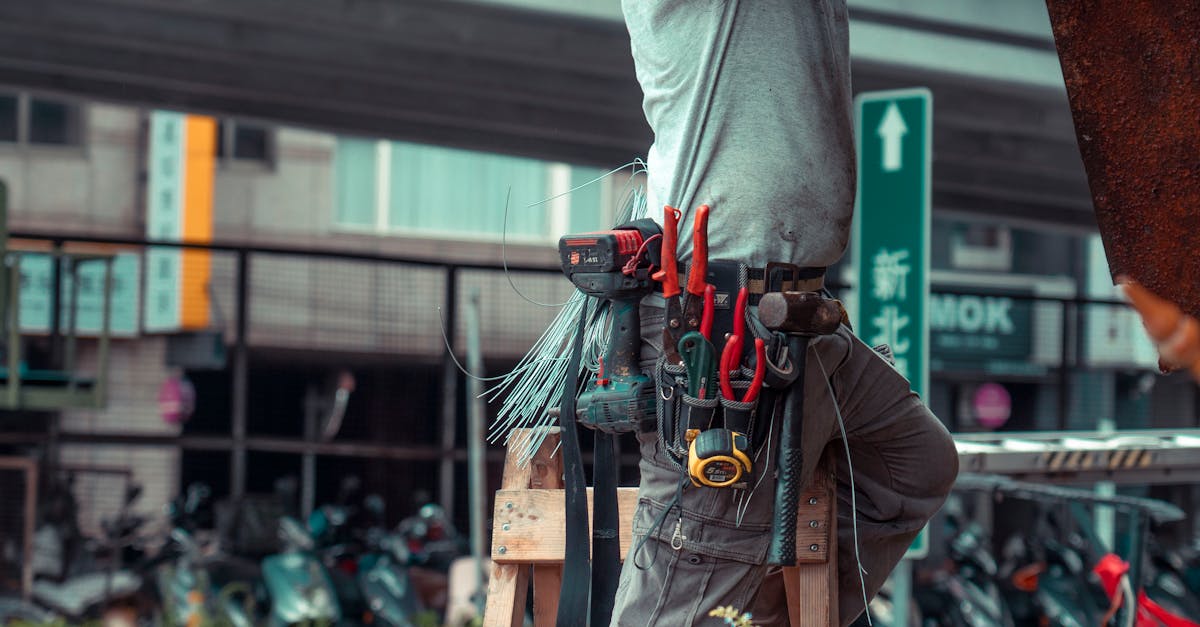
What tools do I need to replace a tap?
To replace a tap, you'll typically need a wrench, screwdriver, plumber's tape, and possibly a basin wrench. Check the specific requirements for your tap model, as some may need additional tools.
How can I tell if my new tap is installed correctly?
After installation, turn on the water supply and check for leaks around the connections. If there are no leaks and the tap functions smoothly, it is likely installed correctly.
What should I do if I notice a leak after installing my new tap?
If you notice a leak, first turn off the water supply. Then, check the connections for tightness and ensure that the plumber's tape is properly applied. If the leak persists, you may need to disassemble the tap and re-install it.
How often should I maintain my new tap?
You should regularly check your tap for any signs of wear, leaks, or mineral build-up. A good practice is to inspect it every few months and perform routine cleaning as needed to ensure long-lasting performance.