Table Of Contents
Replacing Damaged Components
When addressing a leaking tap repair, the first step is to identify any damaged components that may be causing the issue. Common culprits include washers and O-rings, which can wear down over time and lead to leaks. Carefully disassemble the tap to gain access to these parts. Take note of their size and shape to ensure you can find replacements that fit correctly.
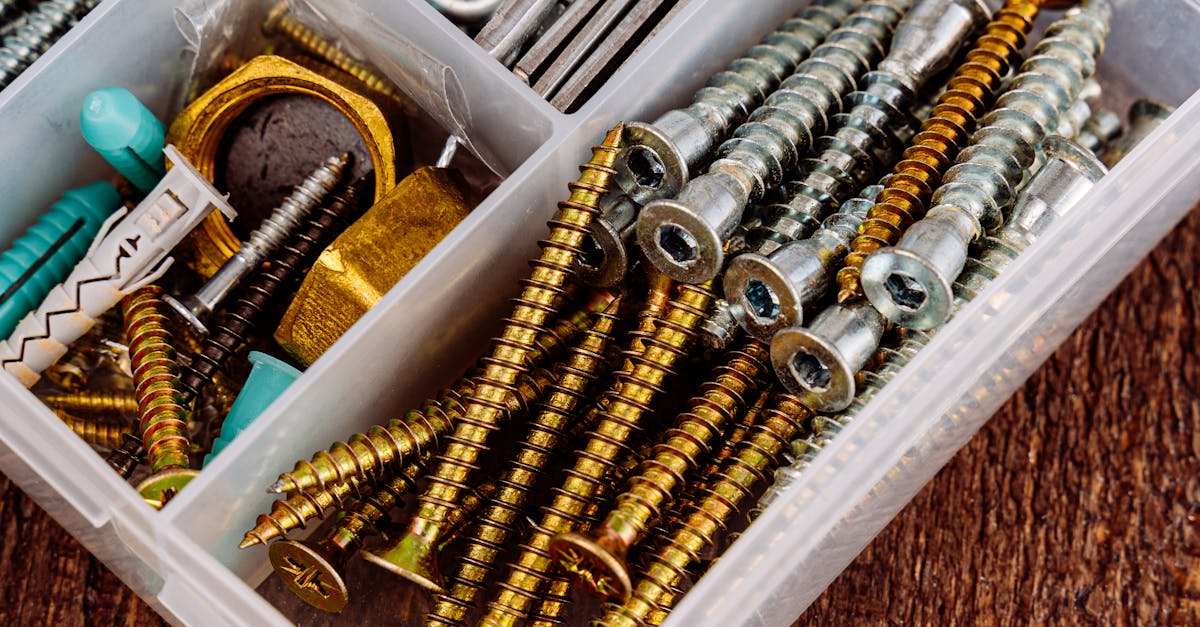
Once you have identified the damaged components, it's essential to select high-quality replacements. Visit a hardware store or plumbing supply outlet to find appropriate washers and O-rings for your specific tap model. Ensuring that you have the right parts will greatly improve the chances of effectively resolving the leak. Additionally, consider replacing any other worn components while you're at it to prevent future issues with the tap.
How to Install New ORings and Washers
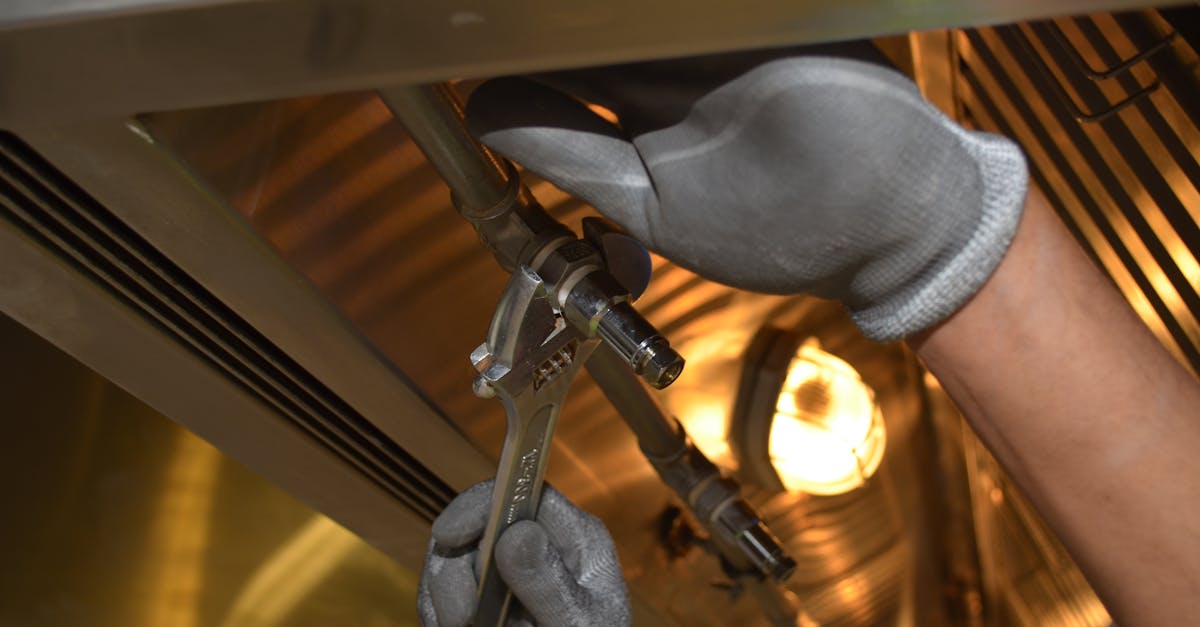
To begin the leaking tap repair process, identify the appropriate size of the new O-rings and washers needed for your specific tap model. Carefully remove the old components using a flathead screwdriver or a wrench, taking care not to damage any surrounding parts. Clean the grooves to ensure a smooth surface for the new components to seat properly. This step is crucial as any debris or residue can prevent a proper seal, leading to continuing leaks.
Once the old parts are removed and the area is clean, insert the new O-rings into their designated grooves, ensuring they fit snugly without gaps. Next, carefully place the new washer on the valve seat, aligning it correctly. It’s important to replace these components accurately to restore the tap's function. After the installation, gently reattach the tap assembly, following the original disassembly order to maintain organization and ensure a successful repair.
Reassembling the Tap
Once you have replaced any damaged components, it’s time to reassemble the tap. Begin by carefully placing the newly installed O-rings and washers into their proper positions. Ensure that each part fits snugly and aligns with the interior of the tap housing. Take care to avoid cross-threading screws and other components as you put everything back together. A meticulous approach will save time in the long run and enhance the effectiveness of your leaking tap repair.
After reassembling, tighten all screws and parts gently, making sure not to overtighten, which could lead to further damage. Check that all components move freely and smoothly before proceeding. Once everything is in place, turn on the water supply and observe the tap as it runs. Testing for any leaks during this initial phase will help ensure that your leaking tap repair was successful, and you can confidently resume normal use without worry.
Tips for Properly Putting It Back Together
When reassembling your tap after a leaking tap repair, it’s crucial to ensure that all components are correctly aligned. Begin by referencing any notes or photographs taken during disassembly. This visual aid will help you remember where each part fits. Gently press down on the parts as you reassemble, ensuring that no components are forced into place, which could lead to future leaks.
Pay attention to the tightening process. Over-tightening can damage the components, while under-tightening may leave gaps that could result in more leaks. Use your hand to secure the parts and only employ tools when necessary to snug them into place. Make sure to follow the manufacturer's specifications where possible to maintain the integrity of the tap during the leaking tap repair.
Testing for Leaks After Repair
After completing the leaking tap repair, it’s essential to ensure that everything is functioning properly. Begin by turning the water supply back on slowly. Pay close attention to the newly installed components. Look for any signs of water escaping from the tap or surrounding areas. This initial check will help identify any immediate issues that may have arisen during the repair.
If no leaks are visible at first glance, it is advisable to let the tap run for a few minutes. This will give you a better insight into the performance of the tap under normal conditions. Keep an eye on the joints and fittings. If they remain dry, you’ve likely succeeded in addressing the leak. If any water begins dripping again, it may indicate the need for further adjustments or potential reinstallations of the components.
Conducting a Leak Test
Once you have completed the leaking tap repair and reassembled the tap fixtures, it is essential to conduct a leak test. Turn on the water supply and fully open the tap to observe any signs of water dripping or leaking from the repaired areas. Pay attention to the joints and connections, as these are common points where leaks can occur.
If you notice any leaks during this test, it may indicate that the components were not properly installed or that additional wear may have gone unnoticed. In that case, you might need to disassemble the tap again to check the O-rings and washers. Ensuring a thorough leak test will help confirm the success of your leaking tap repair before you put the tap back into regular use.
FAQS
What are the common causes of a leaking tap?
Common causes of a leaking tap include worn-out O-rings, damaged washers, corroded valves, or loose fittings.
Do I need special tools to repair a leaking tap?
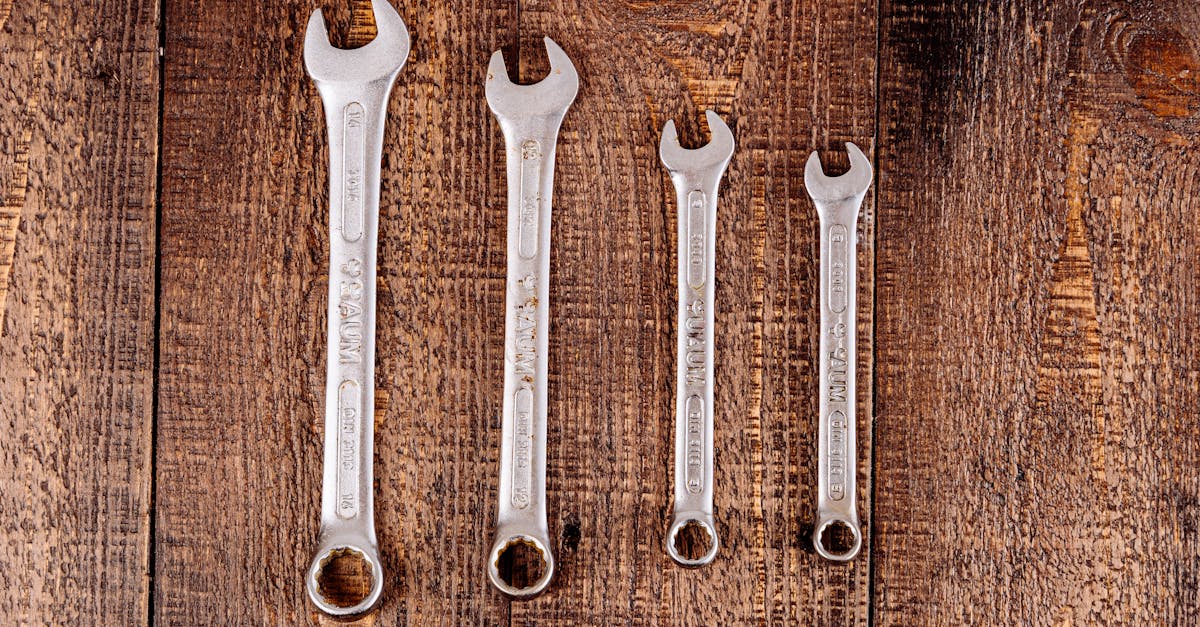
While basic tools like a wrench and screwdriver are usually sufficient, you may also need pliers and a utility knife depending on the repair required.
How can I tell if my tap is leaking?
You can tell if your tap is leaking by checking for water dripping from the faucet, pooling water around the base, or noticing an increase in your water bill.
Is it necessary to turn off the water supply before repairing a leaking tap?
Yes, it is essential to turn off the water supply to prevent water from flowing while you work on the tap, ensuring a safer and cleaner repair process.
How can I prevent my tap from leaking in the future?
To prevent leaks, regularly check and replace worn components like O-rings and washers, keep the tap clean, and avoid overtightening the faucet handles.


