Table Of Contents
Disassembling the Tap
To begin disassembling the tap for leaking tap repair, it's important to turn off the water supply. Finding the shut-off valves under the sink can prevent unnecessary water flow during the process. Once these valves are closed, prepare a towel to catch any excess water that may spill out when the tap is disassembled. This preparation helps ensure a cleaner working environment and minimizes potential mess.
Next, focus on removing the tap handle. Depending on the model, the handle may have a decorative cap that hides the screw. Use a flathead screwdriver to gently pry it open if needed. Once exposed, unscrew the handle using an appropriate screwdriver. If the handle feels stuck, applying a bit of penetrating oil can aid in loosening it. Carefully lift off the handle after untightening the screw.
How to Safely Remove the Tap Handle
To begin the process of safely removing the tap handle, first ensure the water supply to the tap is shut off. This prevents any accidental leaks during the repair. If the tap has decorative covers over the screws, gently pry these off with a small flathead screwdriver. Be cautious while doing this to avoid scratching or damaging the surrounding area. Once the screws are exposed, use a screwdriver to loosen and remove them.
After removing the screws, grasp the tap handle firmly and pull it straight upward to detach it from the base. Avoid twisting or jerking the handle, as this could damage the internal components. If the handle does not come off easily, a small amount of penetrating oil can be applied to loosen any corrosion. This step is important for those who are undertaking leaking tap repair, as a clean and careful removal will facilitate a smoother process for replacing the O-ring.
Removing the Old Oring
To remove the old O-ring from the tap, first identify its location. O-rings are typically seated in a groove near the valve stem or the spout. Carefully examine the assembly to understand how the components fit together. Using a small flathead screwdriver or an O-ring removal tool, gently pry the O-ring out of the groove. Take care not to damage surrounding parts during this process. A damaged groove can lead to improper sealing and cloud the success of your leaking tap repair.
Once the old O-ring is free from its groove, inspect it closely for signs of wear or damage, such as cracks or deformation. This step is crucial as it provides insight into why the tap was leaking in the first place. If you notice residue or debris in the groove, clean it thoroughly before moving forward. Properly preparing the surface will ensure a better fit for the new O-ring and enhance the effectiveness of your leaking tap repair.
Techniques for Oring Extraction
When it comes to O-ring extraction, careful handling is key to avoid damaging the tap components. Use a flat-blade screwdriver or a pick tool to gently pry the old O-ring from its groove. Start at one edge and work your way around, taking care not to scratch or harm the surrounding surfaces. If the O-ring is particularly stubborn, you can apply a bit of lubricant to help ease it out. This technique ensures that you can successfully remove the ring without causing any additional issues, which is crucial for any leaking tap repair.
Once the old O-ring is out, inspect the groove for debris or remnants of the previous seal. Cleaning this area thoroughly with a cloth or soft brush is essential to ensure that the new O-ring will fit properly and create a good seal. Any dirt or old lubricant can affect the performance of the new O-ring. Taking the time to prep the surface will contribute significantly to the effectiveness of your leaking tap repair efforts.
Installing the New Oring
Before installing the new O-ring, ensure that the groove where the O-ring will sit is clean and free from debris. This cleanliness will provide a better seal and prolong the lifespan of the new O-ring. Take your time to inspect the O-ring itself, making sure it is the correct size and type for your specific tap. Choosing a high-quality O-ring will contribute to the effectiveness of the leaking tap repair.
Position the new O-ring carefully into the groove, ensuring it sits evenly all around. Avoid twisting or stretching the O-ring, as this can cause damage or improper seating. Once the O-ring is in place, reassemble the tap components in the correct order. Tighten any screws or fittings securely without over-tightening, which can lead to additional wear or damage. This attention to detail is crucial for a successful leaking tap repair.
Proper Placement of the New Oring
When installing the new O-ring, ensure it fits securely into the groove of the tap. Proper placement is crucial to prevent any leaks once the tap is reassembled. Gently stretch the O-ring if necessary to fit it into the designated area. Avoid using tools that could damage the O-ring during this process. A well-seated O-ring will provide a tight seal, essential for effective leaking tap repair.
Before reassembling the tap, take a moment to inspect the O-ring alignment. It should lie flat and not be twisted or pinched. A misaligned O-ring can lead to persistent leaks after the tap is put back together. After confirming proper placement, proceed carefully with reassembly. Following these steps will enhance the longevity of your tap and minimize the chances of future leaking issues.
FAQS
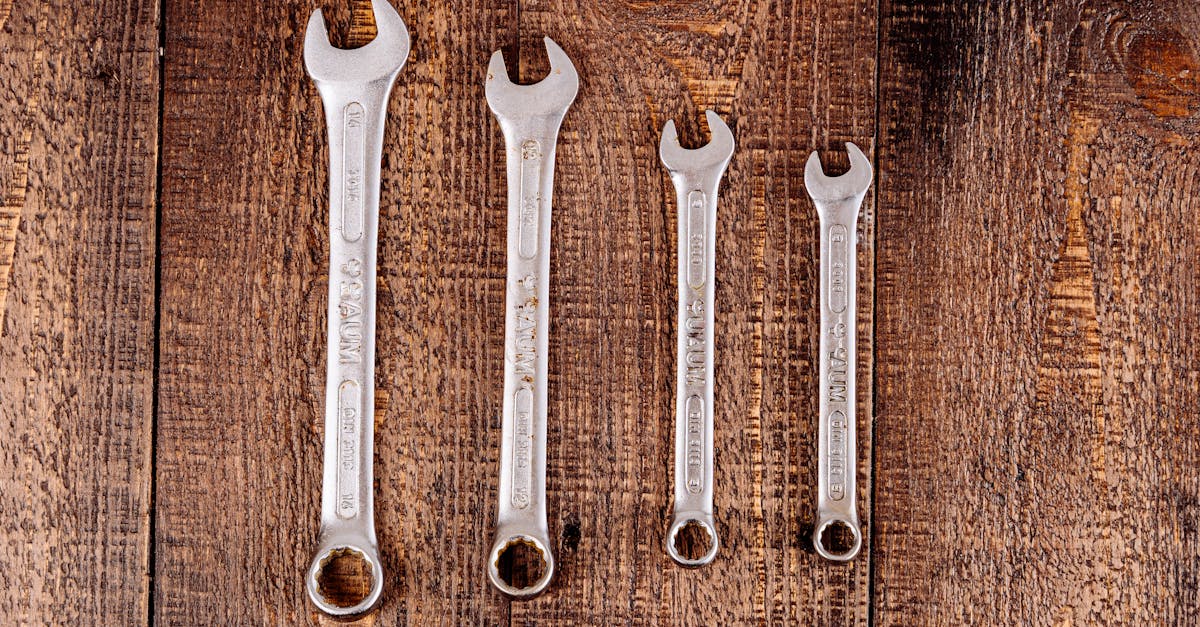
What tools do I need to replace an O-ring on a tap?
You will typically need a flathead screwdriver, a pair of pliers, and a replacement O-ring of the appropriate size for your tap.
How do I know if the O-ring needs to be replaced?
Signs that an O-ring may need replacement include water leaks around the tap handle, difficulty turning the handle, or visible wear and tear on the O-ring itself.
Can I use any O-ring for my tap?
No, it's important to use an O-ring that is specifically designed for your tap's make and model to ensure a proper fit and seal.
Is it necessary to turn off the water supply before replacing the O-ring?
Yes, it is essential to turn off the water supply to prevent flooding and make the replacement process easier and safer.
How often should I check or replace the O-ring on my tap?
It's a good practice to inspect the O-ring at least once a year for signs of wear and replace it as needed to prevent leaks.