Table Of Contents
Replacing the Damaged Parts
Inspecting the faucet will help identify any damaged components responsible for the dripping. Common culprits include worn-out washers, O-rings, or cartridges. Replacing these parts is essential for effective leaking tap repair. Ensure you purchase the correct size and type of replacement parts, as variations exist depending on the faucet model.
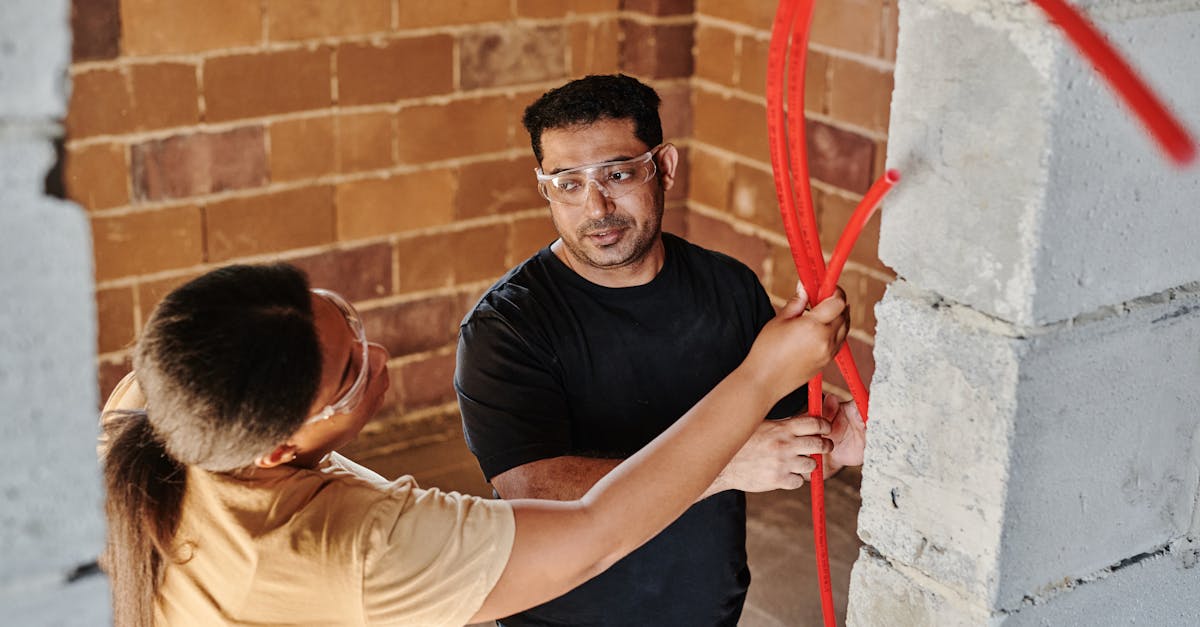
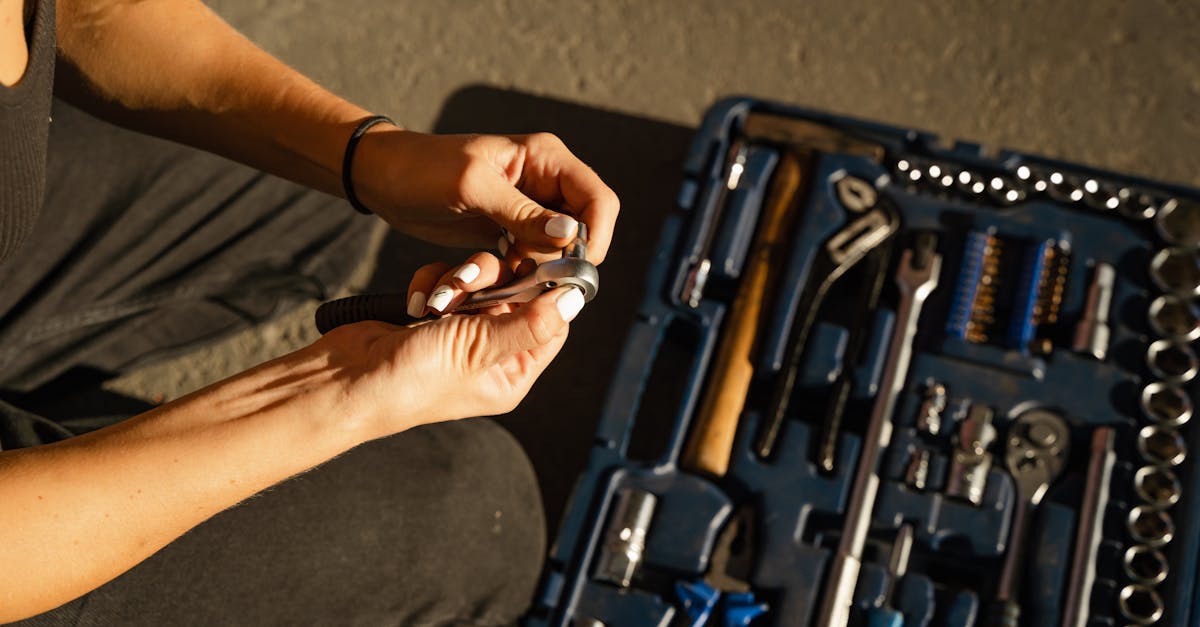
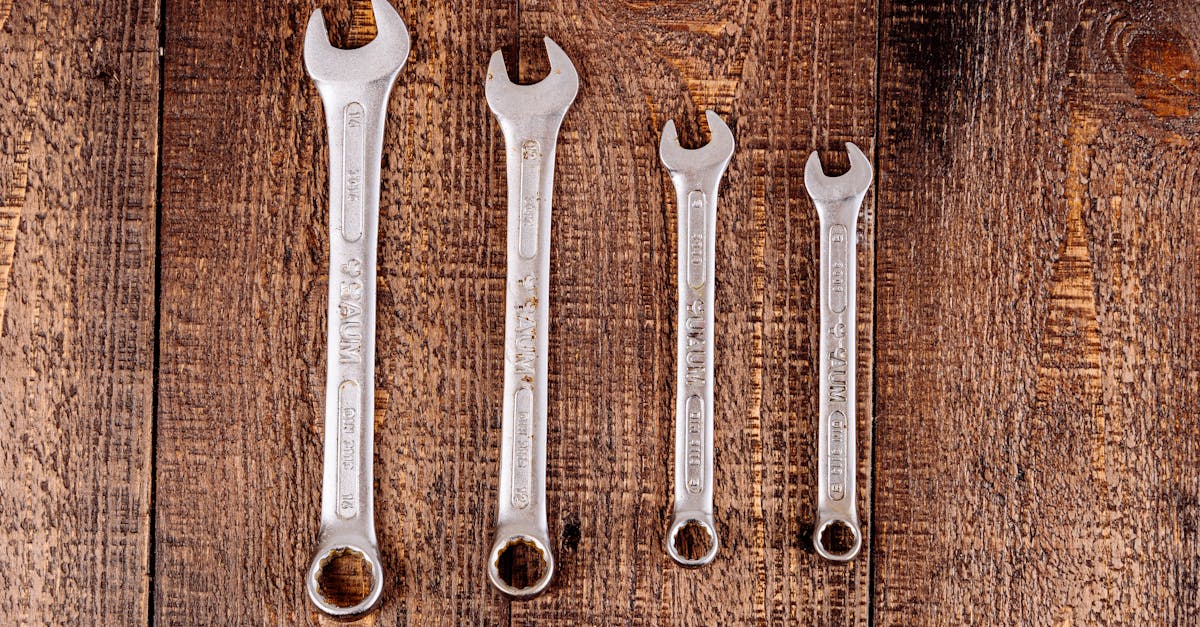
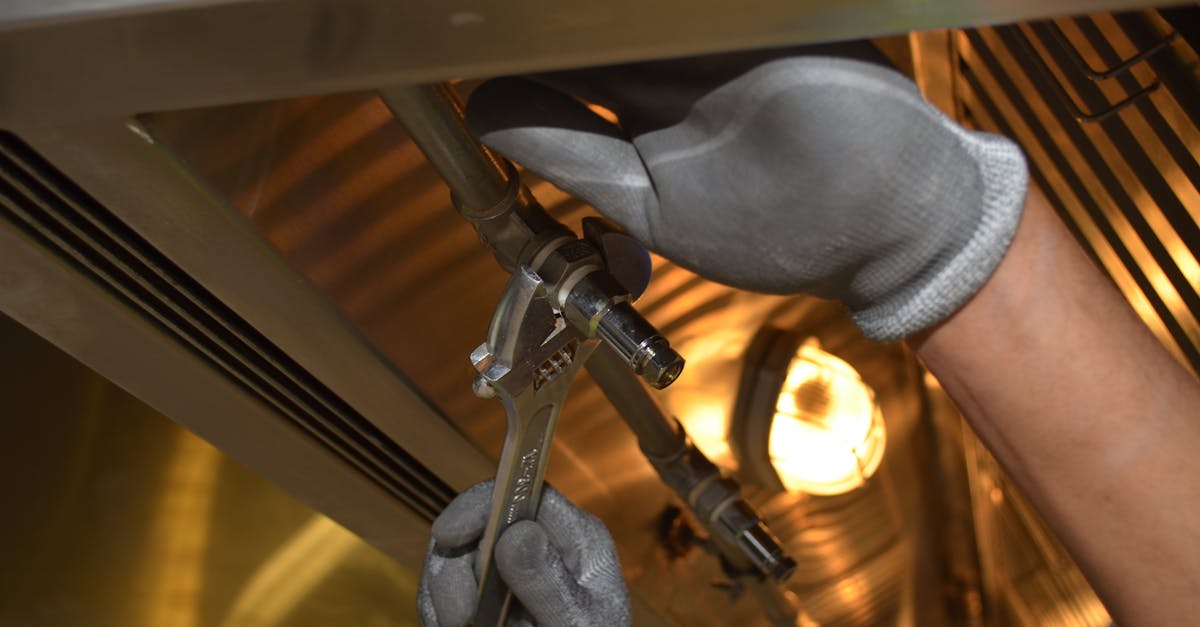
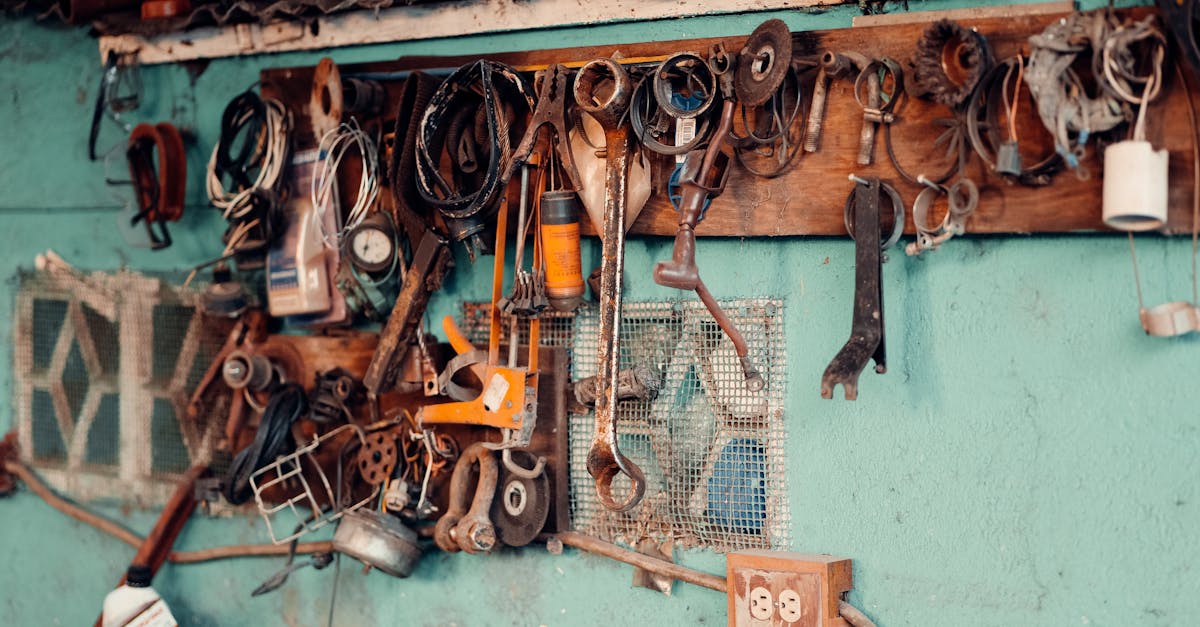
Once the damaged parts are identified, gather the necessary tools, such as a wrench and screwdriver. Begin the replacement process by removing the faucet handle and unscrewing any nuts or screws securing the faulty components. Carefully replace the damaged parts with new ones, making sure they fit snugly to prevent future leaks. Take your time during this step to ensure everything is securely placed before moving on to the reassembly.
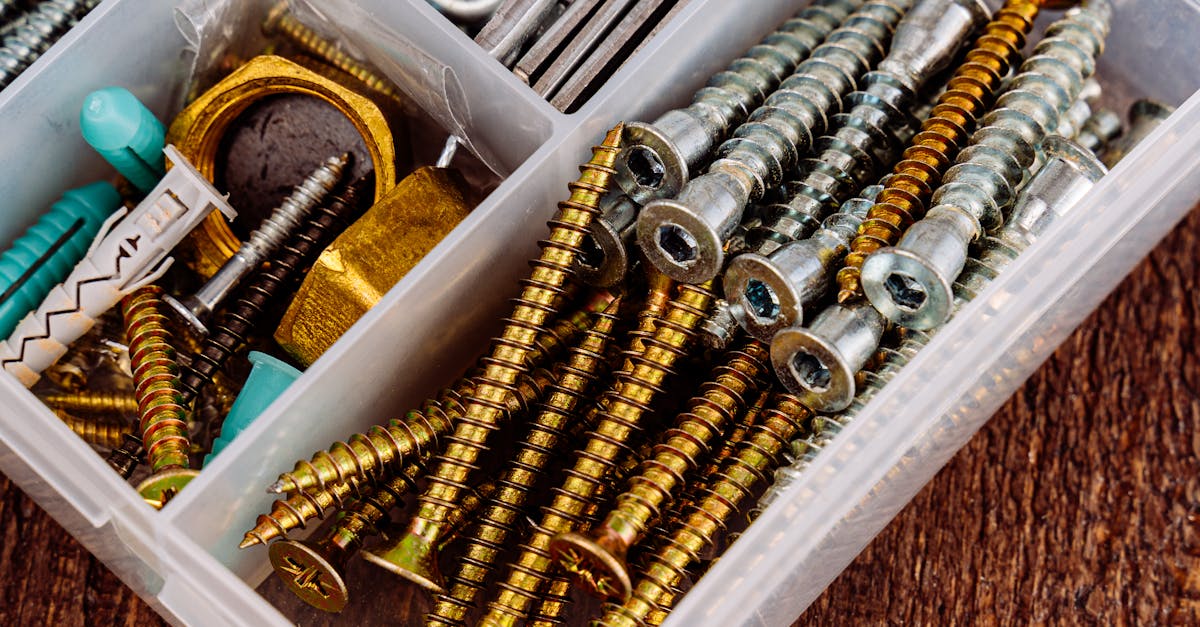
Types of Replacement Parts Available
When addressing a leaking tap repair, it is essential to identify the specific parts that may need replacing. Common components include washers, o-rings, cartridges, and seals. Washers typically wear out over time, causing water to seep through. O-rings can also deteriorate, leading to leaks around the faucet handle. Cartridges serve as the main control for water flow and temperature, and they can malfunction, resulting in constant dripping.
Knowing the different types of replacement parts available helps streamline the repair process. For compression faucets, washers are a typical choice, while cartridge faucets may require a complete cartridge replacement. Ball faucets rely on a different mechanism, often necessitating the replacement of seals for effective leaking tap repair. Understanding these distinctions facilitates a more efficient approach to fixing the issue at hand.
Reassembling the Faucet
Reassembling the faucet requires careful attention to detail to ensure proper function and prevent future leaks. Begin by aligning the components in the order they were disassembled. If you took notes or labeled each part during the disassembly process, refer to them for guidance. Insert any new washers or O-rings into their respective places, making sure they fit snugly. This step is crucial for effective leaking tap repair, as any misalignment can lead to continued dripping or leaks once the water supply is restored.
Next, secure all screws and nuts firmly, but avoid overtightening, which could cause damage. Make sure the faucet handle operates smoothly as you reattach it. Verify that all components are seated correctly before proceeding to the final stages. Once everything is in place, check for any leftover parts that may have been overlooked. A successful reassembly will not only improve the faucet's performance but also significantly contribute to effective leaking tap repair, reducing water wastage in your home.
Proper Steps to Put the Faucet Back Together
After replacing the damaged components, it's essential to carefully reassemble the faucet to ensure proper functionality. Start by positioning the new parts into the faucet body in the same order as they were removed. Ensure each component fits snugly and aligns correctly with the connecting parts. Tighten any screws or nuts you removed earlier, but avoid over-tightening to prevent damage. Pay attention to any rubber seals or O-rings that require proper placement to avoid future leaks.
Once everything is securely in place, double-check your work before reattaching the faucet handle and any decorative covers. A careful inspection during the reassembly process can make a significant difference in the effectiveness of your leaking tap repair. It's crucial to make sure that all parts are not only aligned correctly but also free of debris that could prevent a tight seal. Taking your time at this stage helps ensure a successful and long-lasting repair.
Turning the Water Supply Back On
Once the faucet is reassembled and all parts are secure, it is time to restore the water supply. Start by locating the shut-off valves under the sink. These valves usually turn clockwise to close and counterclockwise to open. Turning them counterclockwise will allow water to flow back into the faucet, ensuring everything is set for use.
After opening the water supply, turn on the faucet to check for any leaks. This step is crucial in the leaking tap repair process, as it confirms that all connections are tight and functioning correctly. If water drips from the faucet, you may need to revisit the assembly steps to ensure that parts are correctly aligned and not damaged.
How to Restore Water Flow Safely
After successfully reassembling the faucet, it’s essential to restore the water flow carefully to avoid any complications. Start by slowly turning the water supply back on. This gradual approach allows you to monitor for any leaks that may have occurred during the reassembly process. Make sure to keep a towel handy to catch any water that might escape from the faucet as you turn the supply on.
Once the water supply is restored, check the faucet for proper function. Turn the handle to see if water flows freely without any drips or leaks. If the faucet appears to be functioning correctly, you have completed your leaking tap repair. However, if you notice any residual dripping, it may require a quick revisit to ensure that all components are correctly tightened and seated.
FAQS
What are the common causes of a dripping faucet?
Common causes of a dripping faucet include worn-out washers, corroded valve seats, damaged O-rings, or loose parts.
How do I know if I need to replace the entire faucet?
You may need to replace the entire faucet if the internal components are severely damaged, if repairs are not effective after multiple attempts, or if the faucet is very old and inefficient.
Can I fix a dripping faucet without turning off the water supply?
It is not advisable to attempt to fix a dripping faucet without turning off the water supply, as this can lead to water damage and complicate the repair process.
What tools will I need to fix a dripping faucet?
You will typically need pliers, a screwdriver, a wrench, and possibly replacement parts such as washers, O-rings, or cartridges depending on the type of faucet.
Is it difficult to fix a dripping faucet myself?
Fixing a dripping faucet can be a manageable DIY project with basic plumbing knowledge, but if you're unsure, it may be best to consult a professional plumber.