Table Of Contents
Replacing WornOut Parts
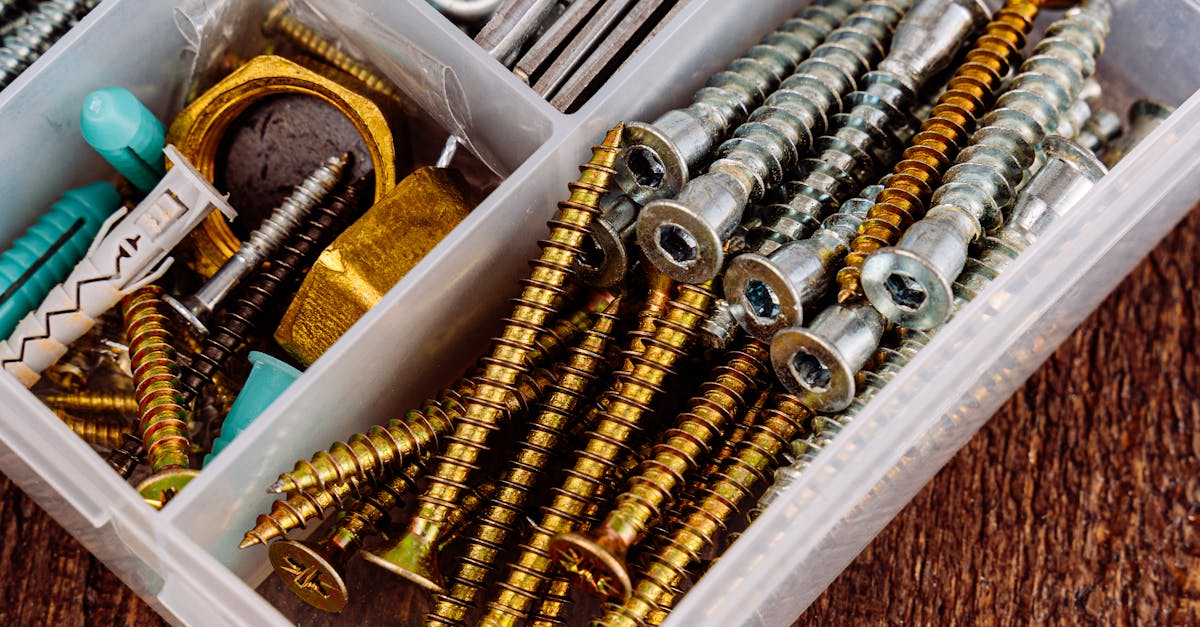
When addressing a leaking tap repair, the first step is to assess the condition of the internal components. Over time, seals and washers can become worn or damaged, leading to persistent leaks. Removing the tap handle and inspecting these parts is crucial. If they appear cracked, dry, or misshapen, it’s clear that replacement is needed. Ensure you have the correct size and type of parts on hand to avoid further issues during the repair process.
After acquiring suitable replacements, it's essential to follow the manufacturer's specifications closely when replacing these worn-out components. Proper installation helps to prevent future leaks and ensures the tap functions as intended. Take care to avoid overtightening, as this can cause additional damage. Once the new seals and washers are in place, reassemble the tap according to the instructions provided, providing a tight fit without risking breakage.
When to Swap Out Seals and Washers
Identifying when to swap out seals and washers is vital for effective leaking tap repair. Seals and washers are the primary components that prevent water from escaping. Over time, these parts can wear out due to constant pressure and temperature changes. If you notice dripping or water pooling around your tap, it may indicate that these components need replacing.
Regular maintenance is key to prolonging the life of your tap. Inspect seals for cracks, signs of wear, or brittleness. Washers can become flattened or misshapen, reducing their effectiveness. If you discover any damage during your inspection, it’s time to replace them. Taking care of these small parts promptly can save you from larger plumbing issues in the future.
Reassembling the Water Stop Tap
After replacing worn-out parts of your water stop tap, the next step involves careful reassembly. Begin by ensuring all components are clean and properly aligned. This will help avoid future issues. When reassembling, pay close attention to the order in which parts are placed. This will facilitate a smoother operation of the tap and minimize the chances of errors.
Once reassembled, it is crucial to tighten all connections securely. Use an appropriate tool to avoid over-tightening, which can damage the components. A well-executed leaking tap repair hinges on ensuring that all fittings are snug without being excessively tight. After completing this step, you can proceed to check the system for leaks to confirm that your repair was successful.
Proper Techniques for Tightening Connections
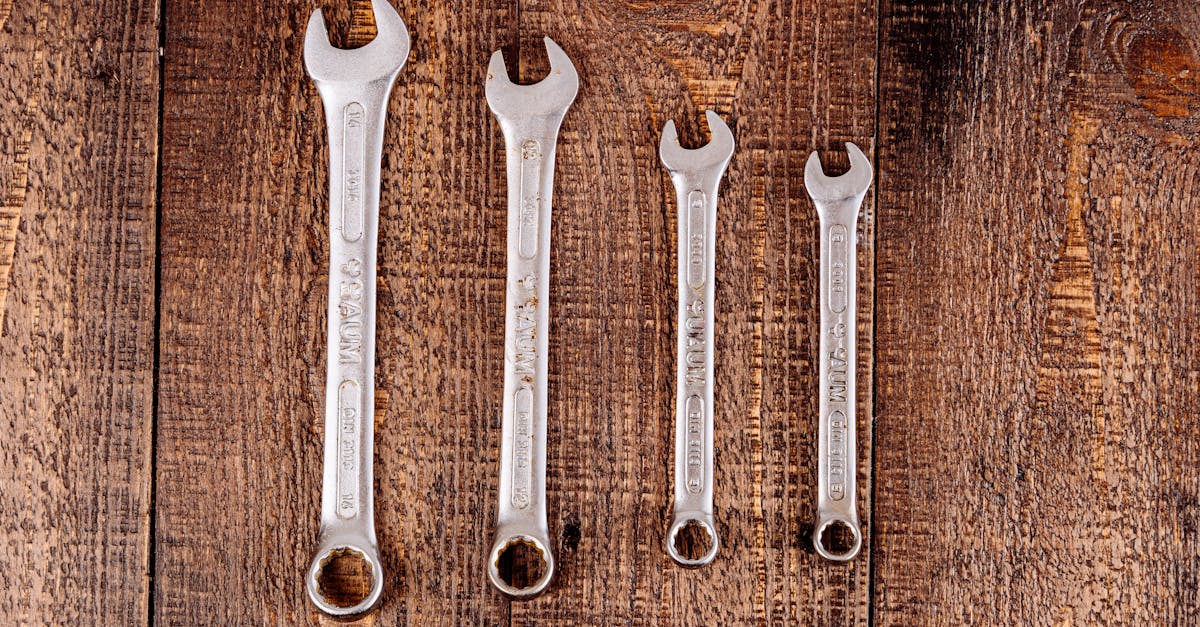
Tightening connections during leaking tap repair is crucial for ensuring a proper seal. Start by using the right tools for the job, as incorrect tools can damage fittings and exacerbate the leak. A wrench or pliers should be employed with care, making sure to grip the fittings firmly but avoid over-tightening. Over-tightening can lead to cracks or strips in the material, causing further issues down the line.
When securing connections, focus on applying even pressure around the joint. This technique helps distribute the force uniformly, which reduces the chances of damaging the materials involved. Regularly check the progress as you tighten each connection. Once you believe the tap is sufficiently secured, give it a gentle shake to assess stability. This approach not only enhances the effectiveness of the leaking tap repair but also sets the stage for a longer-lasting solution.
Testing for Leaks After Repair
After completing your leaking tap repair, the next crucial step involves testing for leaks to ensure your efforts were successful. Start by gently turning the water supply back on while monitoring the area around the tap for any signs of dripping or water accumulation. This initial check will immediately indicate whether the replacement of seals or washers effectively tackled the problem.
If no leaks are visible during the first inspection, consider running water through the tap for a few moments. Pay close attention to the joint connections and the area surrounding the new components. Should any dampness or moisture arise during this phase, further adjustments or additional replacement may be necessary to achieve a complete seal and address the original issue.
How to Check if the Leak is Fixed
After completing the leaking tap repair, it is essential to test the faucet to confirm that the leak has been addressed. Begin by slowly turning on the water supply. Allow the water to flow for a few moments before checking the area around the tap for any signs of leakage. Observing closely during this initial phase will help identify any persistent issues that may require further attention.
If no leaks are detected during the first inspection, continue running water for a few minutes. This extended flow will help ensure that the newly fitted parts are functioning correctly. After running the tap, inspect the surrounding area again for moisture accumulation. Ensuring the tap remains dry during this follow-up check is a good indicator that your repair efforts were successful.
FAQS
What are the common reasons for a water stop tap to leak?
Common reasons for a water stop tap to leak include worn-out seals and washers, loose connections, and corrosion within the tap components.
How often should I replace the seals and washers in my water stop tap?
It's advisable to replace the seals and washers every few years or sooner if you notice any leakage or diminished performance.
What tools do I need to replace parts in my water stop tap?
You will typically need a wrench, screwdrivers, pliers, and possibly a replacement part kit that includes washers and seals.
How can I ensure that my water stop tap is reassembled correctly?
Make sure to follow the manufacturer's instructions carefully, and check that all components are aligned properly before tightening any connections.
What should I do if I still notice a leak after attempting repairs?
If a leak persists after repairs, it may be necessary to consult a professional plumber to assess the situation and determine if further repairs or replacements are needed.