Table Of Contents
Inspecting For Damage
A thorough inspection of your faucet is essential for effective leaking tap repair. Start by examining the faucet body, handle, and spout for any visible cracks or damage. Look for water stains or mineral buildup, as these can be signs of persistent dripping. It's also helpful to check the areas where the faucet connects to the sink and the water supply lines. Any signs of corrosion or loose fittings may contribute to the issue.
Next, take a closer look at the internal components. Remove the faucet handle to access the cartridge or valve inside. Inspect these parts for wear, such as cracks, chips, or rounding. Inspecting the washers and O-rings is equally important; they can degrade over time and lead to leaks. Identifying these issues will streamline the process of leaking tap repair and ensure a more effective resolution.
Signs of Wear and Tear in Faucet Components
Identifying signs of wear and tear in faucet components is crucial for effective leaking tap repair. Look for visible cracks or chips on the faucet body, which can lead to water escaping from unwanted areas. Corrosion is another common indicator of deterioration, often found on metal components exposed to moisture over time. Additionally, inspect the handles and knobs for looseness or difficulty in turning; problems here can signal that internal parts are wearing out.
Rubber washers and O-rings also play a significant role in maintaining a watertight seal. If these components appear cracked or hardened, they likely need replacement. A constant dripping sound, which may seem minor, often indicates that internal parts are failing and require attention. Addressing these issues promptly can prevent further leaks and minimize water waste, making leaking tap repair more manageable.
Replacing Worn Parts
When it comes to leaking tap repair, identifying and replacing worn parts is essential for halting the persistent drip. Common components to check include washers, O-rings, and cartridges. Over time, these parts can wear down, leading to inefficiencies within the faucet mechanism. Just as you inspect the faucet components for visible signs of damage, assess the materials as well. Opting for high-quality replacements can enhance longevity and ensure a better seal against leaks.
To successfully replace the worn parts, gather all necessary tools and replacement components before starting the repair process. Shut off the water supply to avoid any mess during the procedure. Carefully remove the faucet handle and any decorative caps to access the inner workings. Once you have located the damaged parts, remove them and compare them to the new replacements for proper fitting. This methodical approach facilitates a smoother repair and minimizes the likelihood of recurring issues.
How to Choose the Right Replacement Parts
When selecting replacement parts for your faucet, consider the specific type of faucet you have. There are various designs, including cartridge, compression, and ball faucets. Each type requires different components to ensure proper functionality. Taking your old parts to a hardware store can help match them with the correct replacements. If your faucet brand is well-known, searching for parts online may provide additional options that suit your needs.
Quality is another critical factor to keep in mind during your search. Opt for parts made from durable materials that can withstand regular use. High-quality components not only enhance the longevity of your faucet but also contribute to effective leaking tap repair. Reading reviews and product specifications can assist in finding reliable options that fit within your budget. It is essential to invest in parts that guarantee a secure and lasting fix.
Reassembling the Faucet
Once all the worn-out parts have been replaced, it's time to reassemble the faucet. Begin by positioning the components in reverse order of disassembly. Ensure that O-rings and washers are properly seated to avoid any gaps. Tightening nuts and screws should be done carefully to prevent over-tightening, which can lead to damage. Each part must fit snugly without excessive force. This step is crucial for effective leaking tap repair.
After everything is in place, turn on the water supply slowly. Check for any leaks around the repaired areas. If water begins to leak, some adjustments may be necessary. Inspect all connections to ensure they are secure and recheck the integrity of the parts used in the repair. A thorough final check will help ensure your faucet works properly and maintains its integrity after the leaking tap repair.
Proper Techniques for Putting Your Faucet Back Together
Reassembling a faucet requires attention to detail to ensure that all components are correctly aligned and secured. Begin by replacing the cartridge or valve, ensuring it fits snugly in its designated slot. Always refer to the manufacturer's instructions for specific reassembly steps related to your faucet model. Tighten any screws and fittings, but be cautious not to over-tighten as this can cause damage to the components. If present, use plumber's grease on rubber seals to facilitate a better fit and prevent future leaks.
Once all parts are assembled, take a moment to check the alignment of the handle and any decorative covers. Proper alignment can enhance the aesthetics and functionality of the faucet. After reassembly, turn on the water supply and test the faucet for leaks. Successful leaking tap repair depends on this final check to ensure everything operates smoothly. If leaks persist, disassembling and rechecking the components may be necessary to pinpoint the issue.
FAQS
What are the common causes of a dripping tap?
Common causes of a dripping tap include worn washers, damaged O-rings, corroded valve seats, and loose faucet components.
How can I tell if my faucet needs new parts?
Signs that your faucet needs new parts include dripping water, difficulty in turning the tap on or off, and visible wear or corrosion on components.
What should I look for when choosing replacement parts for my faucet?
When choosing replacement parts, ensure they are compatible with your faucet brand and model, check the material quality for durability, and consider purchasing OEM (original equipment manufacturer) parts for the best fit.
Are there any special tools required to fix a dripping tap?
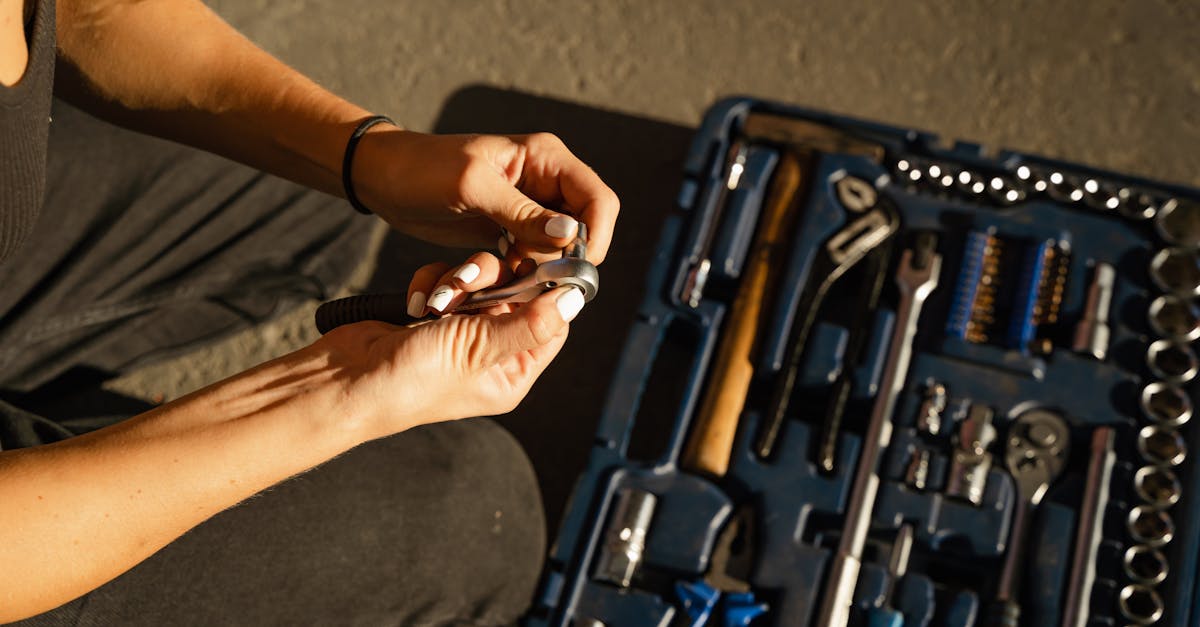
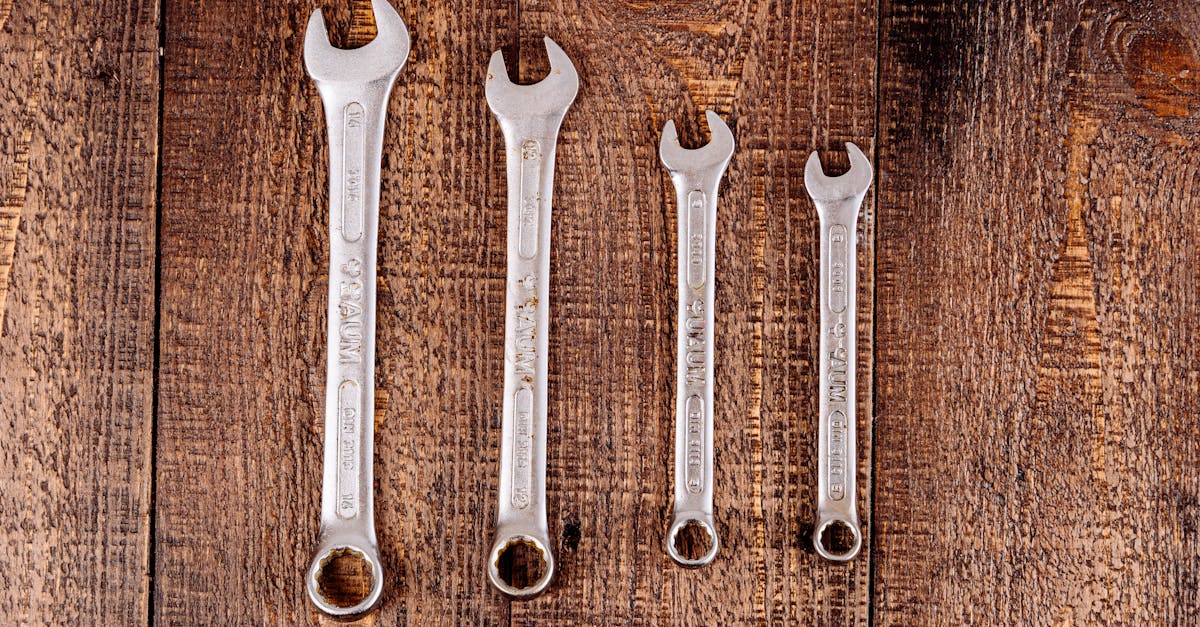
Basic tools needed to fix a dripping tap typically include a screwdriver, adjustable wrench, and possibly a plumber's tape. It's also helpful to have replacement parts on hand.
Can I fix a dripping tap myself, or should I hire a plumber?
Many people can successfully fix a dripping tap themselves with the right tools and parts, especially for minor issues. However, if you're unsure or the problem persists after repairs, it's advisable to hire a plumber.


