Table Of Contents
StepbyStep Resealing Process
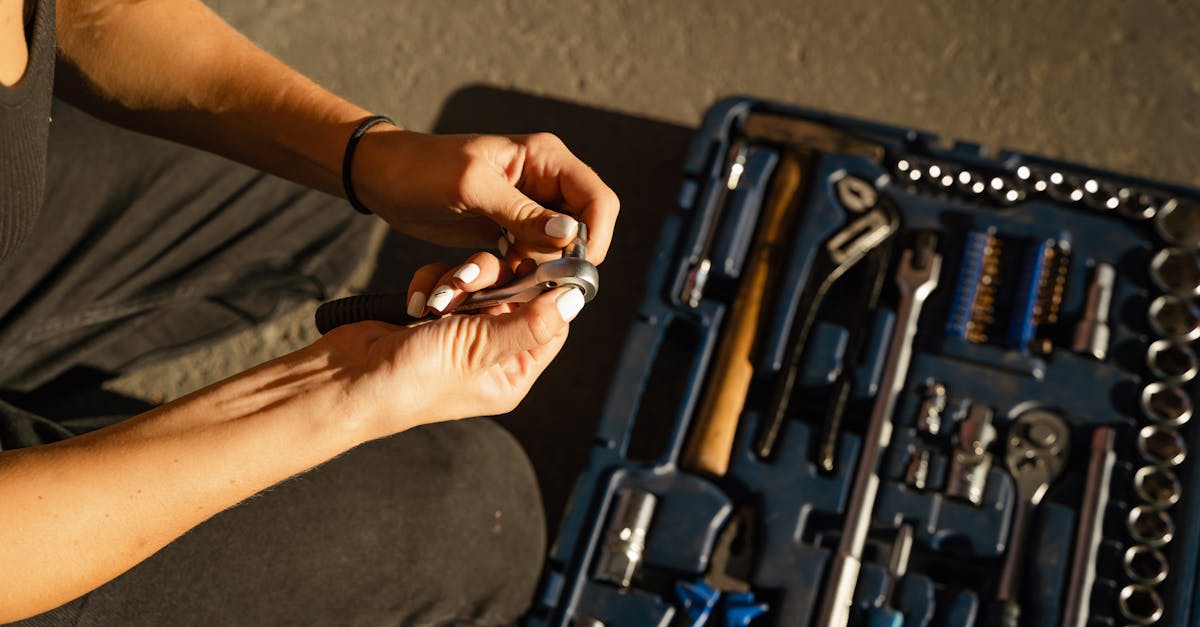
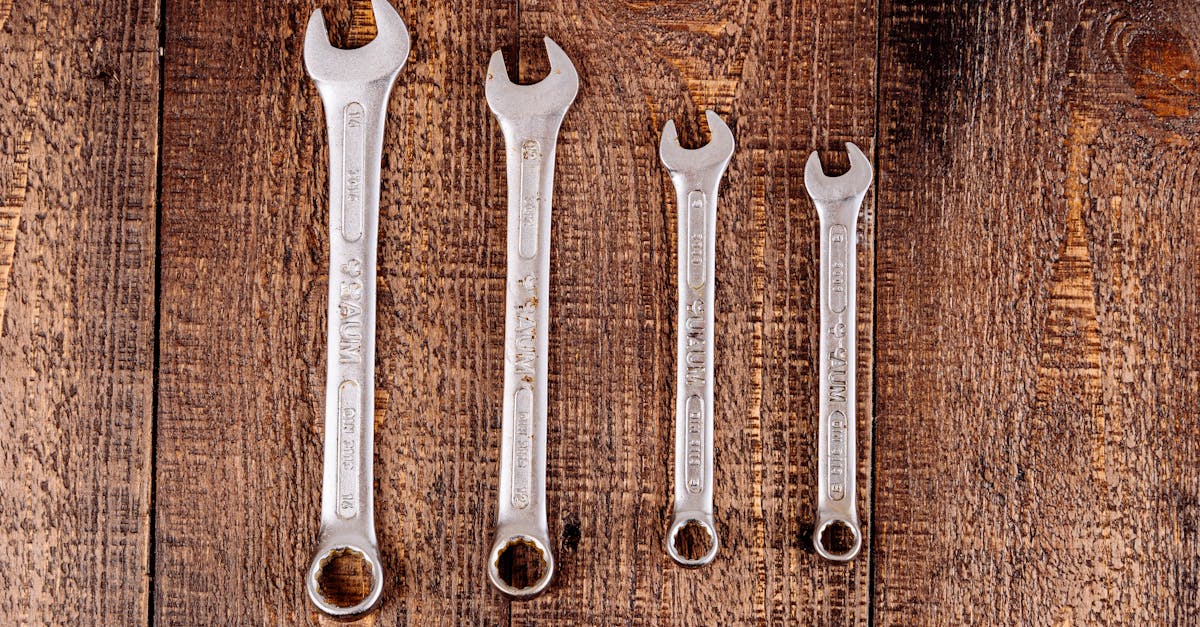
Resealing a shower can be a straightforward process if done correctly. Begin by cleaning the shower area thoroughly. Use a mild detergent or a specialized cleaner to remove soap scum and mildew. Ensure that all surfaces are completely dry before applying sealant. Pay attention to corners and edges, as these are common areas for water penetration. Gather your tools, including a caulking gun, sealant, and a utility knife for any necessary removal of old caulk.
Next, if needed, remove any old sealant carefully using a utility knife or a scraper. This step is crucial for effective shower repairs. Apply the new sealant using the caulking gun, maintaining a steady hand for an even application. Force the sealant into the gaps and smooth it out with your finger or a caulking tool to ensure a tight seal. Be sure to follow the manufacturer's instructions for optimal results. Proper application not only contributes to a clean finish but also helps to prevent future leaks.
How to Apply Sealant Effectively
Applying sealant effectively is crucial for ensuring that your shower remains watertight and free from mold. Begin by cutting the nozzle of the sealant tube at an angle, creating an opening suitable for your application needs. Use a caulk gun to dispense the sealant, applying it in a steady, continuous bead along the seams and joints of the shower. Make sure to maintain an even pressure on the trigger to avoid inconsistencies in the sealant flow. It is essential to keep a consistent pace as you move along the edges to ensure a smooth finish.
After laying down the bead, use a caulking tool or your finger to smooth the sealant. This not only makes the application look neater but also ensures better adhesion. Take care to remove any excess sealant promptly, as it can be difficult to clean up once it has cured. For effective shower repairs, choose a high-quality sealant designed for wet environments, as it will offer better durability and protection against moisture. By following these steps, you can achieve a professional-looking seal that helps prevent future leaks.
Drying and Curing Time
After completing the resealing process, understanding the drying and curing time is crucial for effective shower repairs. Most sealants require a specific amount of time to dry and fully cure before they can be exposed to water. This duration can vary significantly based on the type of sealant used and the environmental conditions in your bathroom, such as humidity and temperature. Generally, you should allow at least 24 hours for the sealant to dry, with some products requiring up to 72 hours for optimal curing.
To ensure the longevity of your shower repairs, avoid using the shower during the curing phase. Keeping the bathroom well-ventilated helps accelerate the drying process. It’s advisable to check the manufacturer’s instructions for the specific sealant you used, as this will provide the most accurate guidance for drying times. By being patient and allowing adequate time for the sealant to set, you can enhance the effectiveness of your shower repairs.
Ensuring Proper Drying for Longevity
Ensuring proper drying after resealing is crucial for the longevity of the sealant. Air circulation plays a significant role in this process. Open windows or turn on exhaust fans to help the area dry more quickly. Avoid using the shower for at least 24 hours to allow the sealant to cure properly. Too much humidity can hinder the drying process and lead to problems down the line.
Temperature also affects the drying time and the overall effectiveness of the sealant. A warm environment can facilitate quicker curing, while cold weather may slow the drying process. Homeowners should be mindful of these conditions when planning shower repairs. Regularly checking the sealant for any signs of wear or moisture buildup can also help in addressing issues before they escalate.
Maintenance Tips After Resealing
After resealing your shower, it’s essential to adopt good maintenance practices to preserve the integrity of the sealant. Regularly cleaning the surfaces with gentle, non-abrasive cleaners prevents grime buildup that could compromise the seal. Pay attention to the grout lines and corners, as these areas often collect soap scum and mould. Keeping the shower well-ventilated also aids in minimizing moisture, which can extend the life of the sealant.
Inspecting the shower periodically for signs of wear or damage is crucial for ongoing care. Look for discoloration, cracks, or peeling at the edges of the sealant. Address any issues promptly to avoid larger shower repairs down the line. By implementing these maintenance tips, you can ensure that your newly resealed shower remains functional and visually appealing for years to come.
Best Practices to Extend Sealant Life
To ensure the longevity of your sealant, regular maintenance is essential. Avoid using abrasive cleaners that can wear down the sealant over time. Instead, opt for mild cleaning solutions and soft sponges to keep the surfaces clean without causing damage. Regularly inspect the sealed areas for any signs of wear or decay, addressing any issues promptly to prevent water infiltration that could lead to costly shower repairs.
Proper ventilation in your bathroom also plays a crucial role in extending the life of your sealant. Excess moisture can weaken the sealant and contribute to mold growth, making regular airflow necessary after showers. Use exhaust fans or open windows to promote air circulation. Additionally, consider applying a new layer of sealant every few years as a proactive measure to maintain the integrity of your shower and reduce the need for extensive shower repairs in the future.
FAQS
Can I reseal my shower by myself?
Yes, you can reseal your shower yourself with the right tools and materials. The process involves removing old sealant, cleaning the area, and applying a new sealant.
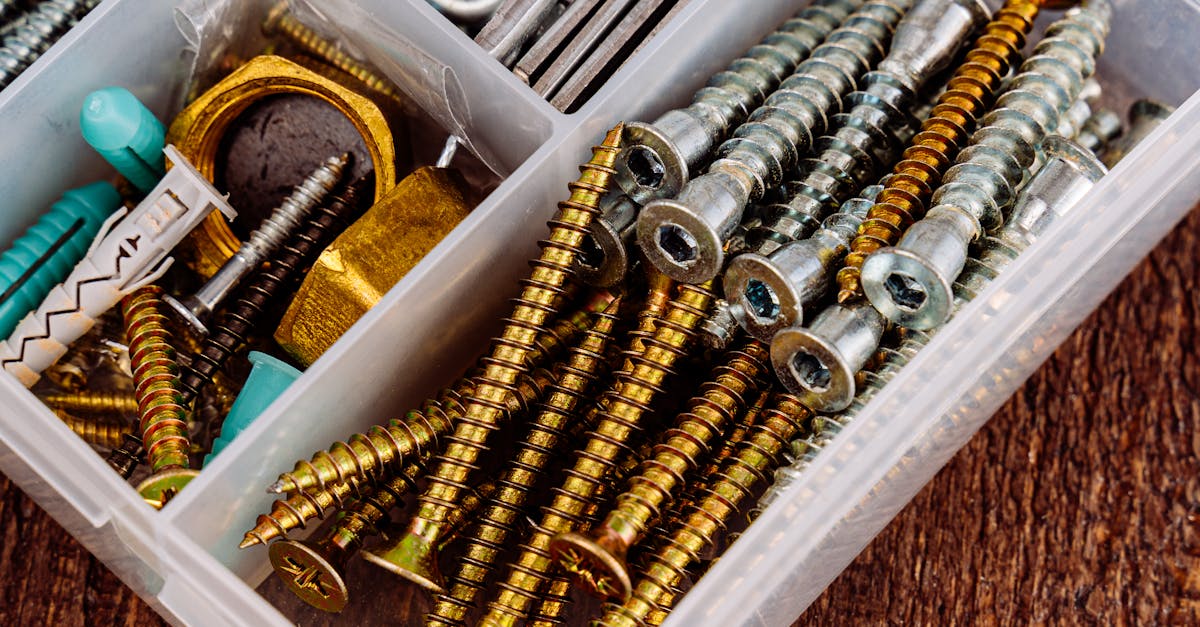
What materials do I need for resealing my shower?
You will need a caulk remover or utility knife, a scraper, cleaning solution, a new silicone or acrylic sealant, a caulking gun, and possibly painter's tape for neat application.
How long does it take for the sealant to dry?
Drying and curing time can vary by product, but generally, it takes about 24 hours for the sealant to fully cure. Always check the manufacturer's instructions for specific drying times.
What can I do to ensure the sealant lasts longer?
To extend the life of your sealant, make sure to clean the shower regularly, avoid harsh chemicals, and check for any signs of wear or damage periodically.
Is resealing a shower difficult for beginners?
Resealing a shower can be manageable for beginners with some basic DIY skills. Following a clear step-by-step guide can help you successfully complete the task.