Table Of Contents
Additional Expenses to Consider
When resealing a shower, it's important to keep in mind the potential additional expenses that may arise during the process. Beyond the cost of sealant and any tools needed, homeowners should budget for possible shower repairs. If the underlying surfaces show signs of damage or mold, addressing these issues may require professional assistance, which can significantly increase overall costs.
In addition to repairs, consider expenses associated with cleaning supplies and any necessary protective gear. A thorough cleaning is crucial before resealing, and investing in high-quality cleaners and safety equipment can enhance the efficiency and safety of the project. Additionally, if any plumbing issues arise, those repairs can further impact the overall budget, making it essential to factor in these potential costs ahead of time.
Tools and Supplies for Resealing
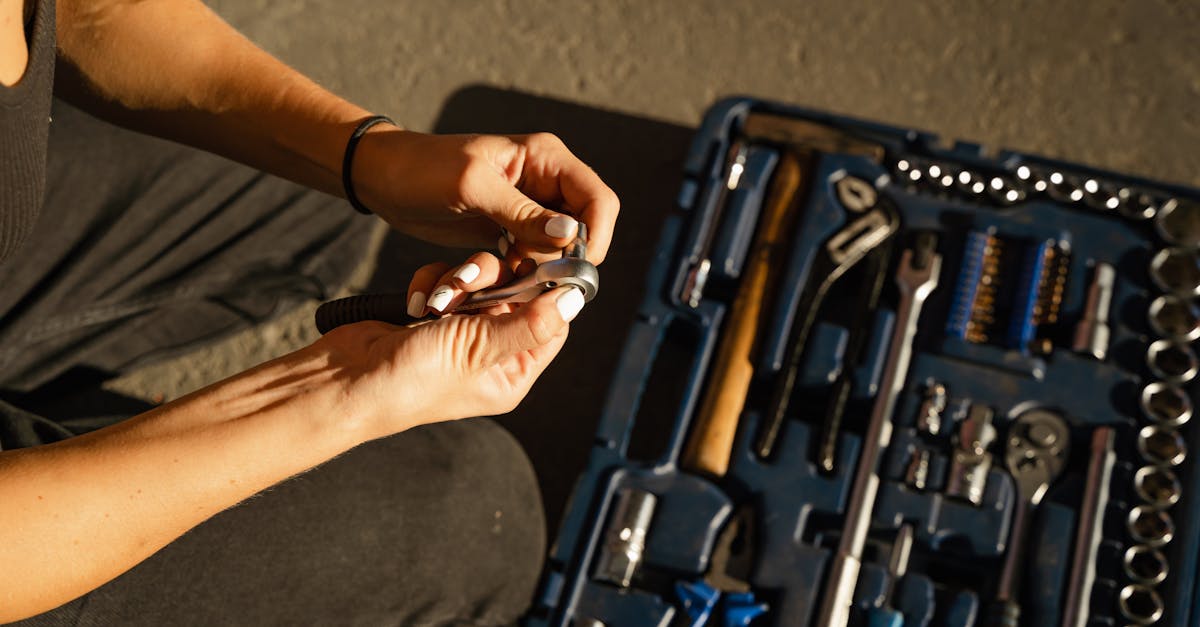
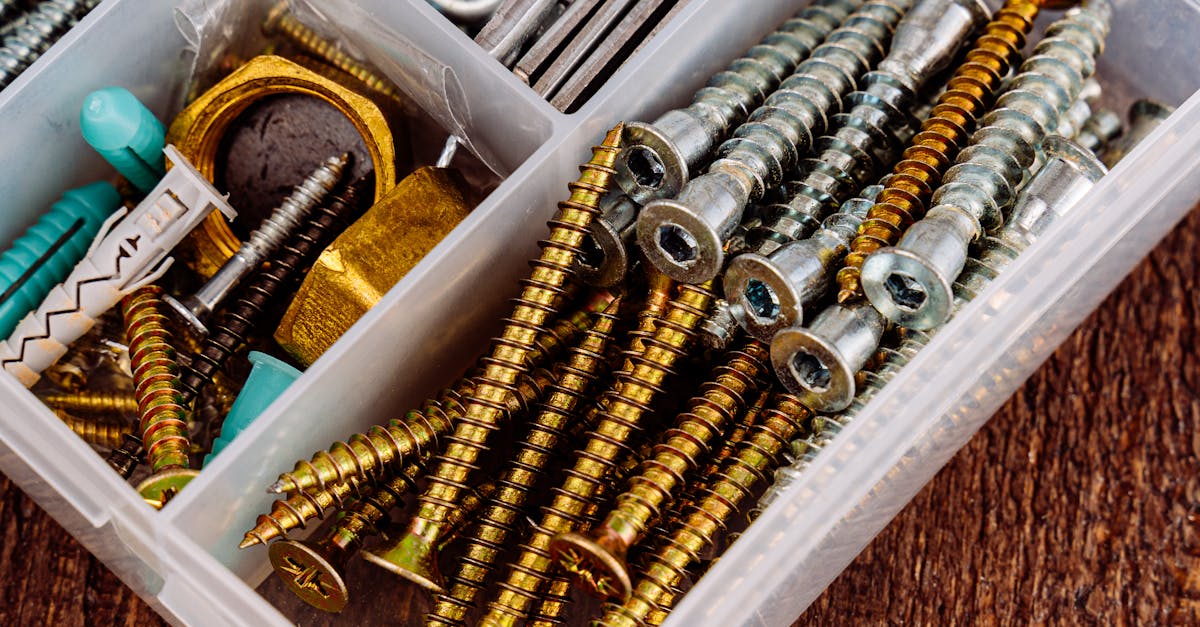
When embarking on a shower resealing project, it's essential to gather the right tools and supplies to ensure a successful outcome. A caulking gun is a must-have, as it allows for a smooth and even application of sealant. Additionally, choosing a high-quality silicone sealant specifically designed for wet areas will help prevent moisture damage. Tools like a utility knife or razor scraper can be handy for removing old caulk, while a sponge and bucket will assist in cleaning the area before resealing begins.
Aside from the primary materials, there are other items that may enhance the efficiency of your shower repairs. A tape measure can help ensure that you measure your materials correctly, while painter’s tape can be used to create clean lines and protect surrounding areas from excess sealant. A putty knife is useful for smoothing out the sealant after application, ensuring a professional finish. Gathering these supplies beforehand can simplify the resealing process and contribute to long-term durability.
Signs Your Shower Needs Resealing
Recognizing when your shower needs resealing is crucial to maintaining its integrity. Look for visible signs such as mold or mildew along the edges of the tiles or around the shower fixtures. Any cracking or peeling of the caulk can also indicate wear, suggesting that shower repairs may be necessary. Water stains on ceilings or walls in adjacent rooms may signal leaks due to insufficient sealing.
Another indicator is the presence of water pooling in the shower. If you notice that water takes too long to drain or seeps into areas it shouldn't, resealing may help restore proper function. Regularly inspecting grout lines for discoloration or deterioration can prevent more extensive damage, making timely shower repairs essential for long-term maintenance.
Identifying Wear and Damage
Inspecting your shower for signs of wear and damage is crucial in determining whether resealing is necessary. Look for cracks or gaps in the grout and caulking, as these issues can allow water to seep into the walls or flooring. Discoloration or peeling around the edges may also indicate that moisture has compromised the integrity of your shower. These visual cues often signal that shower repairs are needed before further damage occurs.
Additionally, you should be mindful of any musty odors or water stains on nearby walls and ceilings. These signs may point to prolonged exposure to moisture, suggesting that the shower seal is failing. Regular inspection can help you stay ahead of potential issues, ensuring timely shower repairs and maintaining a safe, functional environment.
Steps to Prepare for Resealing
Preparing for resealing a shower involves a few crucial steps that set the stage for effective and lasting results. Start by clearing the area of all personal items, such as shampoo bottles and soap dishes. This step not only provides ample working space but also protects your belongings from any potential damage during the resealing process. Inspect the shower for any visible wear or damage. Identifying issues early can help you understand whether simple resealing will suffice or if additional shower repairs are necessary.
Proceed by cleaning the surfaces thoroughly to eliminate mold, soap scum, and grime. A clean surface ensures that the new sealant adheres properly, enhancing longevity. As you work through this process, take note of any areas that might need a more in-depth repair before resealing. It’s wise to address these problems beforehand to avoid more extensive shower repairs down the line. Following these preparatory steps will help achieve a successful resealing and maintain the integrity of your shower.
Cleaning and Inspection Tips
Prior to resealing your shower, thorough cleaning is essential. Start by removing all products and accessories from the shower area to provide a clear workspace. Use a non-abrasive cleaner to scrub the tiles and fixtures. Pay special attention to any mold or mildew, as these can compromise the effectiveness of the new sealant. Once scrubbed, rinse the area well to eliminate all residues. This step not only prepares the surface for resealing but also contributes to the overall maintenance of your shower.
Inspection is the next crucial step in the preparation process. After cleaning, take a close look at the grout lines and seams for any signs of wear or damage. Gaps, cracks, or discoloration indicate that it's time for shower repairs. If you notice any deteriorating areas, consider patching them before applying the new sealant. This ensures a strong foundation for the resealing process and helps to prevent future water damage.
FAQS
How much does it typically cost to have a shower resealed?
The cost to have a shower resealed can vary widely depending on factors such as the size of the shower, the materials used, and the labor involved. On average, you can expect to pay between $200 and $500 for professional resealing services.
Are there any additional expenses I should consider when resealing my shower?
Yes, in addition to the base cost of resealing, you should consider expenses such as tools and supplies needed for the job, potential repairs for underlying damage, and any cleaning products required before resealing.
How can I tell if my shower needs resealing?
Signs that your shower may need resealing include visible wear on the caulking or grout, water leaks or pooling, and mold or mildew growth. It’s important to inspect these areas regularly for early signs of damage.
What tools and supplies do I need for resealing my shower?
Common tools and supplies for resealing a shower include a caulking gun, silicone caulk, a utility knife, cleaning supplies, and possibly a grout sealant, depending on your specific needs.
Can I reseal my shower myself, or should I hire a professional?
You can reseal your shower yourself if you have the right tools and are comfortable with DIY projects. However, hiring a professional may be a better option if you're unsure about the process or if the shower has significant damage that needs attention.