Table Of Contents
Using Sealants Effectively
Sealants play a crucial role in addressing shower leaks without the need for extensive tile removal. They can effectively fill gaps and cracks around fixtures, allowing water to stay within designated areas. Applying a high-quality sealant not only prevents leaks but also helps maintain the aesthetic appeal of your shower. Be sure to choose a sealant that is specifically designed for wet environments, as these products are formulated to withstand exposure to moisture over time.
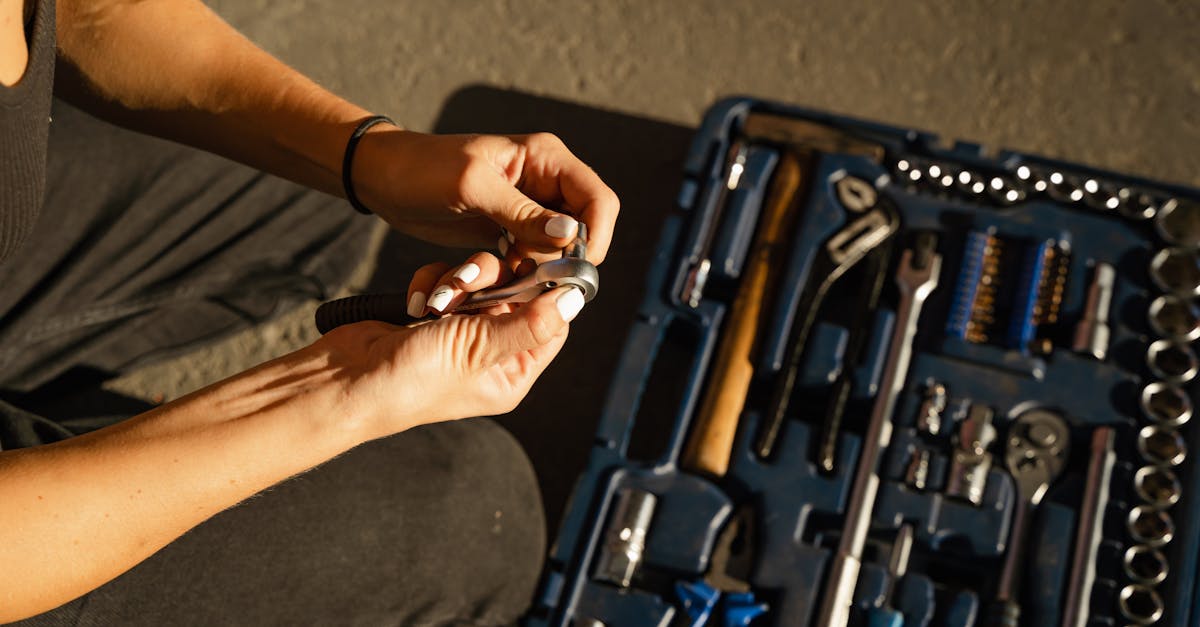
When performing shower repairs, the application process is key to achieving a watertight seal. Begin by cleaning the areas around the leak thoroughly to remove any soap scum, mildew, or old caulking. This ensures proper adhesion of the new sealant. After preparing the surface, use a caulking gun to apply an even bead of sealant around the necessary edges. Smooth the bead with a wet finger or tool for an even finish, and allow adequate drying time before exposing the area to water again.
Choosing the Right Sealant for Your Shower
Choosing the right sealant for your shower is crucial in addressing leaks effectively. Several types of sealants are available, including silicone, latex, and polyurethane. Silicone sealants are popular due to their flexibility and water resistance. They adhere well to various surfaces, making them ideal for shower repairs. It is essential to select a product that can withstand moisture and temperature changes typically found in bathrooms.
When selecting a sealant, consider the specific areas needing attention. If the leak is around fixtures or joints, a silicone-based sealant may provide the best durability. On the other hand, if the issue lies with tile grout lines, a specialized grout sealant might be more appropriate. Proper preparation of the surface is necessary for optimal adhesion during shower repairs. Cleaning and drying the area beforehand will ensure the sealant bonds effectively, reducing the likelihood of future leaks.
Repairing Shower Fixtures
Faucets and showerheads often contribute to leaks when their seals wear out. Inspect these fixtures for any visible wear, corrosion, or looseness. Tightening the connections can sometimes stop the leak immediately. If the problem persists, replacing washers or O-rings may be necessary to achieve a proper seal and prevent further water loss during shower repairs.
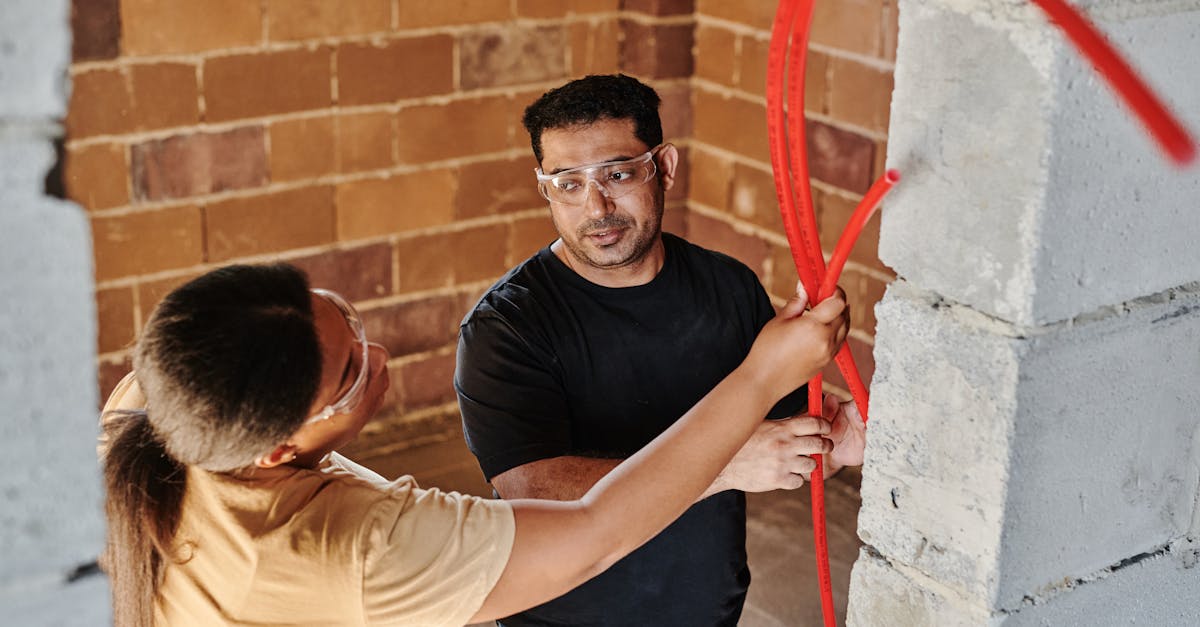
Shower valves can also be a source of leaking if they fail to close correctly. Replacing the valve cartridge or the entire unit may be required depending on the type installed. Ensure you turn off the water supply before beginning any repairs. Proper tools and replacement parts will help make these repairs effective, allowing you to enjoy a leak-free shower experience without the need for extensive renovations.
Steps to Fixing Faucets and Showerheads
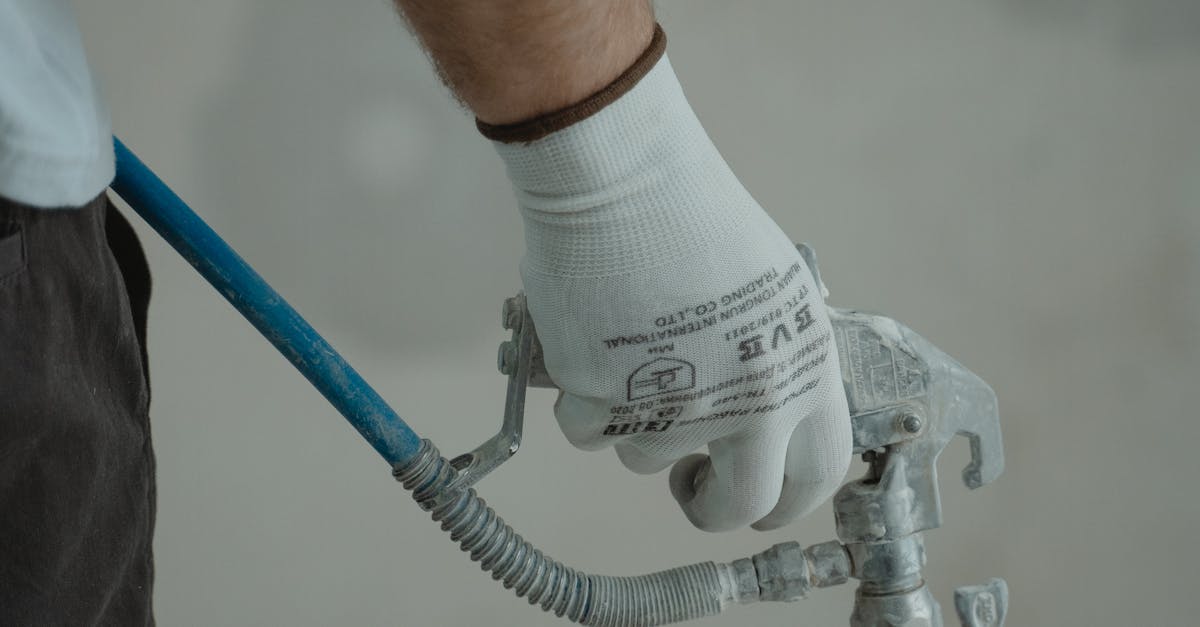
To address leaking faucets and showerheads, first, ensure you shut off the water supply to avoid further mess. Carefully disassemble the faucet or showerhead, taking note of how each part is positioned. Look for worn washers, O-rings, or seals that might be causing the leak. Replacing these parts can often resolve minor leaks without requiring significant alterations to your tiles. During assembly, be gentle to avoid damaging any components, which is key for effective shower repairs.
If the leak persists after replacing the seals, check for any loose connections. Tightening the fittings can sometimes be all that's necessary for a proper seal and may prevent water from escaping. Regular maintenance coupled with timely shower repairs can extend the lifespan of your fixtures. Use plumber's tape on threaded connections for an added layer of protection against leaks. Taking these steps will keep your shower in good working order while minimizing the need for more extensive renovations.
Regrouting as a Solution
Regrouting can be an effective solution for addressing leaks in tiled showers. Over time, the grout between tiles can wear down, crack, or become discolored, allowing water to seep through and potentially lead to more extensive damage. By renewing the grout, you can prevent moisture from penetrating the walls and floor structure of your shower. This process can revitalize the appearance of the tiles and reinforce the waterproof barrier.
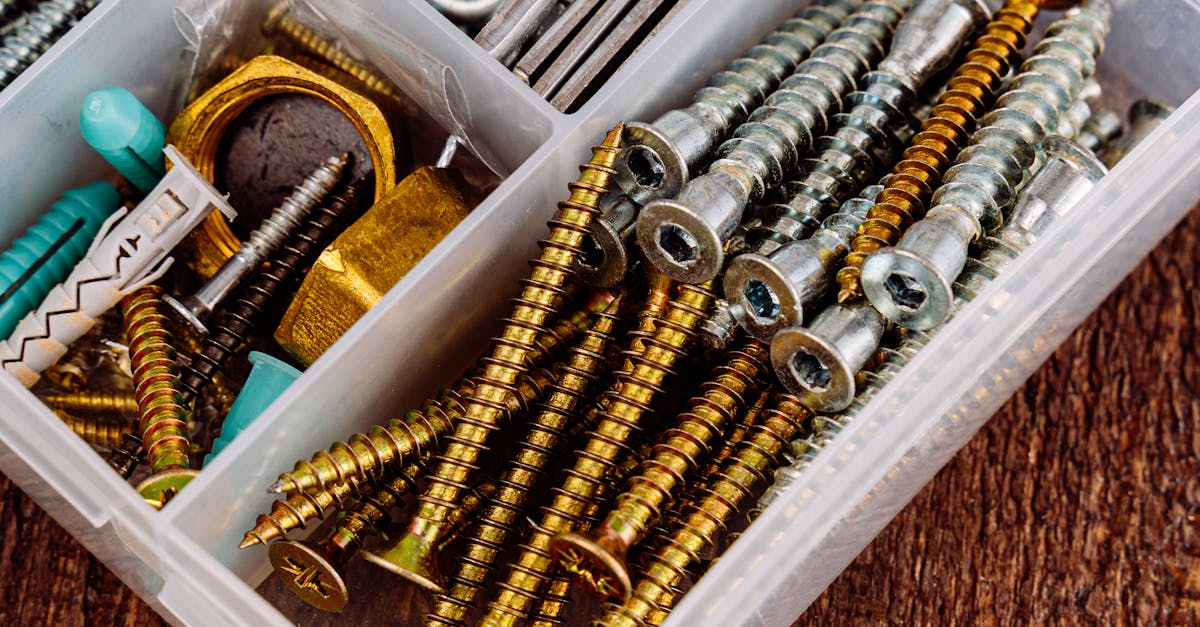
When undertaking shower repairs, it is essential to use the right tools and materials. Begin by selecting a high-quality grout that suits your shower's environment. Clean the area thoroughly to remove dirt and grime before applying the new grout. Carefully fill the gaps with the grout, ensuring even distribution and proper sealing. Once the grout has cured, consider applying a sealant to enhance protection against future moisture intrusion. This proactive approach can prolong the life of your shower and maintain its functionality.
How to Safely Regrout Without Removing Tiles
Re-grouting without removing tiles is a practical option for those looking to address leaks or unsightly grout lines without the hassle of demolition. Begin by cleaning the existing grout lines to remove mold, mildew, and any debris. This preparation ensures a strong bond for the new grout. Using a grout saw or a similar tool, carefully remove the damaged grout without risking damage to the surrounding tiles. This step is crucial, as it creates space for the new grout and enhances the effectiveness of shower repairs.
Once the old grout is removed, apply a high-quality, waterproof grout designed for use in wet areas. It is advisable to choose a product that is mold-resistant to prolong the longevity of the repairs. Use a grout float to shove the new mixture into the spaces between the tiles, ensuring it fills all gaps evenly. After allowing the grout to set according to the manufacturer's instructions, wipe away any excess with a damp sponge. This method not only improves the appearance of your shower but also reinforces its waterproof barrier, making it a reliable solution for shower repairs.
FAQS
Is it possible to fix a leaking shower without removing the tiles?
Yes, it is possible to fix a leaking shower without removing tiles by using sealants, repairing fixtures, and re-grouting as needed.
What types of sealants work best for shower leaks?
Silicone-based sealants are typically the best choice for sealing shower leaks, as they are waterproof and mold-resistant.
How can I tell if the leak is coming from the fixtures or the tiles?
Inspect the shower fixtures for visible drips or water pooling around them. If the leak is persistent and not associated with the fixtures, it may be coming from grout lines or seals between tiles.
Can I re-grout my shower without removing the existing tiles?
Yes, you can re-grout your shower without removing the tiles by applying grout over the existing grout lines, provided they are not crumbling or excessively damaged.
What should I do if the leak persists after attempting these fixes?
If the leak continues after trying sealants, fixing fixtures, and re-grouting, it may be best to consult a professional plumber to assess the situation.