Table Of Contents
Tools Required for Replacement
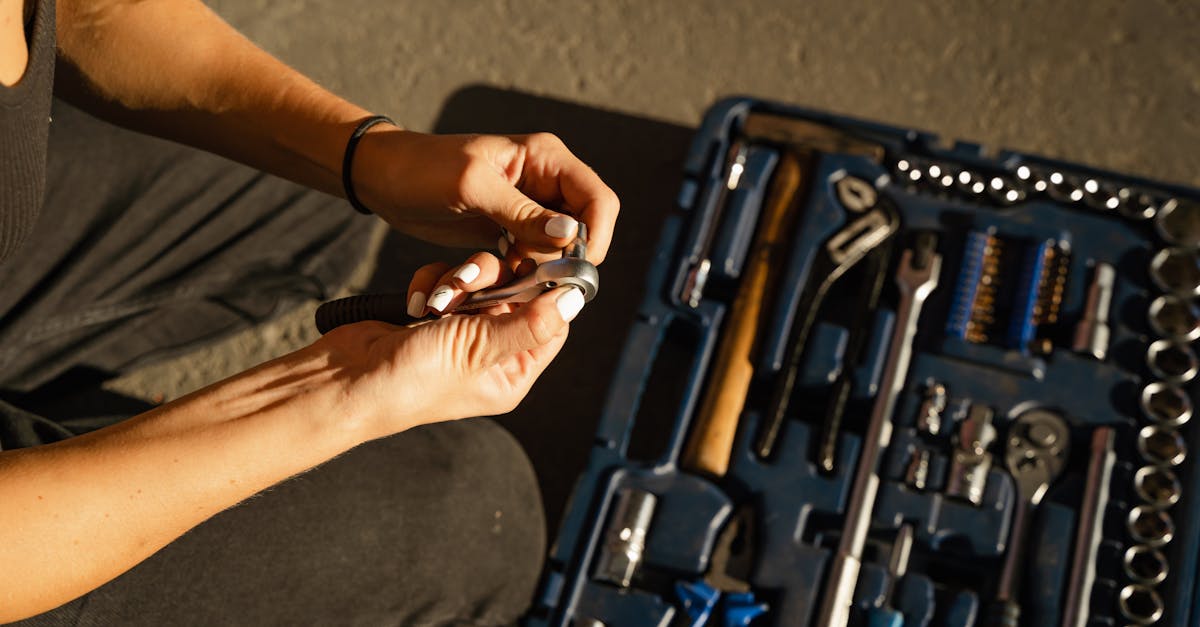
Before embarking on shower repairs, it is crucial to gather the necessary tools. A screwdriver set will allow you to remove the cover and access the heating element. Pliers are also essential for gripping and twisting wires securely. A multimeter can help you check the electrical connections and test for continuity in the element.
In addition to these basic tools, having a socket wrench can be beneficial for loosening nuts. A flashlight may prove useful in illuminating tight spaces, ensuring you can see what you’re working on. Consider keeping a towel handy to help catch any water that may drip during the process. Being well-prepared will make the replacement of the heating element smoother and more efficient.
Essential Equipment for a DIY Job
When undertaking shower repairs, having the right tools is essential. A screwdriver set is necessary for removing and securing screws while a pair of pliers will help with gripping and twisting tasks. Additionally, a multimeter is crucial for checking the heating element's continuity. This equipment allows you to identify electrical issues before proceeding with the replacement process.
In some cases, you might encounter stubborn fittings or rusted components. A pipe wrench can aid in loosening these fixtures, ensuring a smoother repair experience. Having replacement parts readily available, such as gaskets and electrical connectors, will save time and prevent delays. Gathering this essential equipment will set you up for a successful DIY job, making the heating element replacement in your shower more manageable.
StepbyStep Guide to Replacing a Heating Element
Before beginning shower repairs, safety should be the top priority. Turn off the power supply to the water heater. This prevents accidental electric shocks while working. Gather the necessary tools and equipment, including a screwdriver, a multimeter, and safety goggles. Ensuring that you have everything on hand will make the process smoother and more efficient.
Once you have the power disconnected, drain the water heater if applicable. This step reduces the risk of water spilling out during the replacement process. Remove the access panel to reach the heating element. Use the multimeter to check for continuity in the old element, confirming whether it needs replacement. If the test indicates a malfunction, proceed to detach the old heating element and install the new one carefully.
Detailed Instructions for a Successful Replacement
Before beginning any shower repairs, ensure that the power supply to the heater is turned off at the circuit breaker. This is crucial for safety. Drain any remaining water from the system to prevent leaks or accidents during the replacement process. Identify the access panel to the heating element and remove it gently. Take note of how the existing heating element is connected. Clear any debris or scale that may have accumulated around the unit, as this can hinder your efforts and affect the performance of the new element.
Next, carefully disconnect the old heating element by detaching the wires and unscrewing it from its housing. Handle this step with care, making sure to remember the placement of the connections for easy installation of the new unit. Once the old element is removed, install the new heating element by reversing the disconnection process. Tighten all screws securely and reattach the wires, ensuring a snug fit for optimal performance. After completing the installation, replace the access panel and turn the power supply back on. Test the new heating element to verify that the shower is functioning correctly.
Warranties and Guarantees
When considering the replacement of a heating element in your shower, warranties and guarantees can play a significant role in securing your investment. Many manufacturers offer warranties that cover defective parts and workmanship. It is essential to review the warranty terms before proceeding with any shower repairs, as the duration and coverage can vary widely. Knowing these details can provide peace of mind in case of future issues with the heating element.
In addition to manufacturer warranties, some service providers may offer guarantees on their installation work. These guarantees often ensure that if any issues arise shortly after the shower repairs, the service technician will address them at no additional cost. Understanding these warranties and guarantees is crucial for protecting your investment and ensuring that you receive a reliable, long-lasting heating element replacement.
What to Look For Before You Replace
Before replacing a heating element, it's crucial to diagnose the issue accurately. Signs of a malfunction could include inconsistent water temperatures or a complete lack of hot water. Inspect the electrical connections for any damage or corrosion. Checking the circuit breaker is also important, as a tripped breaker might lead you to believe the heating element has failed when, in fact, it is an electrical issue.
Consider the age and condition of the heating element. If it has served you for many years, replacement may be the best course of action. Conversely, if the unit is relatively new, troubleshooting the shower repairs may uncover a simpler solution. Look for any leaks or wear around seals and connections, which could indicate problems that are not directly related to the heating element itself.
FAQS
How much does it typically cost to replace a heating element in a shower?
The cost to replace a heating element in a shower can range from $100 to $300, including parts and labor, depending on the complexity of the job and local labor rates.
Can I replace the heating element myself?
Yes, if you have basic plumbing knowledge and the right tools, you can replace the heating element yourself by following a step-by-step guide. However, ensure you follow safety precautions and local regulations.
What tools are needed to replace a heating element?
Essential tools for replacing a heating element include a screwdriver, pliers, a multimeter (for testing), and a wrench. Always refer to your specific model's manual for any additional tools.
Are there warranties for heating elements?
Many heating elements come with a manufacturer’s warranty, typically ranging from one to five years. Be sure to check the warranty details before purchasing a new element.
What signs indicate that the heating element needs to be replaced?
Common signs that a heating element needs replacement include inconsistent water temperature, no hot water, strange noises during operation, or visible corrosion or damage to the element.